


Cricut Print And Cut is an amazing feature when it comes to all of the things a Cricut can do. However, the print then cut Cricut feature is lacking the ability to cut a full page. Which results in the loss of a ton of sticker paper.
What Is The Cricut Print And Cut Size?
Remember before I mentioned that the ability to cut a full page was lacking as far as the print then cut feature. The actual size that the Cricut can cut once you have uploaded an image is only 6.75 inches by 9.25 inches. And a standard sheet of paper is 8.5 by 11.
So you can imagine how much you end up wasting. So once I got my Cricut Maker, I was able to come up with a little hack. To avoid wasting so much paper.

Print and cut is the ability to take a flattened image and send it to the printer. And then have the Cricut cut it out.
Printing an image using your Cricut machine allows the machine to print out registration marks. The Cricut then reads and then cuts out the perfect image.
A lot of beginners think that the term Cricut Print and Cut means that the Cricut Machine actually prints. Actually, Cricut Print and Cut means that you use a separate home printer to print. And then by putting that printed image onto a cutting mat, the Cricut will cut it.

How Does Print Then Cut Work On Cricut?
- Upload your image to Design Space, or choose 1 from Cricut Access.
- To upload click on images, and then upload.
- When the image opens click on the full-color image, not the cut image.
- Resize the image and then click on the make.
- On the next screen, depending on the material, if it requires mirroring then mirror it and click continue.
- Send it to the printer, and your printer will print it with the registration marks.
- Add it to the Cricut Mat and then choose your material.
- Load it into the machine and click go.
Cricut Print and Cut is actually a super simple process. But getting a full page is another story.
With the Cricut explore and other machines, most of us love to do projects with printable vinyl. The newer Cricut machines made things amazingly easy to expand your creativity.
When the new Cricut machines were introduced, they also introduced Cricut Design Space, Cricut Access, and Print and cut. Meaning that now you can print and cut by inserting the images into your design space layers panel. And use your inkjet printer then cutting your image with your Cricut Machine!
Print and Cut takes away the hassle of layering vinyl in your most intricate projects.

This Full Page Hack is definitely a game-changer when it comes to crafting with printable images. And even better being able to cut a full-page print then cut an image means saving money, who doesn’t love saving?
I can’t even begin to tell you how much waste I have had not being able to print out a full page!
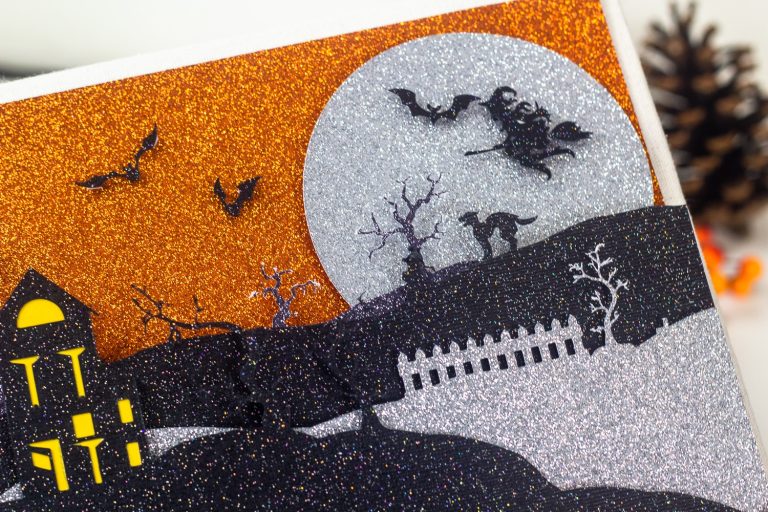
The things you can cut on Cricut are only limited by your imagination. Of course, my favorite thing to do using this feature is stickers.
Here are a few more posts that use Print and Cut. But most of them were before I discovered how to make a full page.
How To Do Full Page Cricut Print And Cut
One of the best features of the cricket family of products. Is the Cricut print and cut feature. But what if you could do a full page print and cut?
Materials
- Printable medium (I used this sticker paper)
- Photoshop (get a great deal on it here)
- Cricut Standard Mat
- Masking Tape
Instructions
- Tape off your Cricut Mat
- In design space create a box that is 8.5 by 11.5
- Load your mat into your machine and cut out the box
- Weed out the excess tape and set aside
- Create your image with registration marks in Photoshop at the top and bottom of your image (see video for how to do this)
- Save as a png with a transparent background
- Print the image from photoshop and set aside
- In Design Space, load your saved image as a cut file/image
- Resize the image to 8.5 by 11
- Click "make it"
- Place your printed image into the box you made on your mat, do this carefully so that it lines up correctly
- Load into your cutting machine
- Cut based on the medium you are using
- Remove and weed
Recommended Products
This post and some photos may contain Amazon and other affiliate links, I will be compensated if you make a purchase after clicking on my links.


Good evening,
Thank you for your instructions, I’m French and I don’t know how to use the cricut maker. thanks to your tutorial.
the other hand for the tape process , I can’t because i have a big offset and i don’t understand why, I do exactly like you with A4 .
I work with illustrator and I create gift boxes for weddings with pattern,
Can you help me please?
thank you
This is really helpful. I can’t wait to try it, it hurts to throw away half a sheet of expensive sticker paper lol. What is the purpose of the tape box? Thanks for posting this!
So you can place the paper in the exact spot it needs to be in.
A ha! Thank you! I’m going to be working on my project with sticker paper this weekend. 🙂
Can you explain the purpose of the registration marks in PhotoShop? Thank you!
They’re meant to make the image bigger then it actually is
Is there an alternative app we could use instead of Photoshop? I don’t want to have to pay for it.
I’m sure there is, however, I am not sure which you can use.
InkScape if you want something like Illustrator, Gimp if you want something like Photoshop. Both completely free and available on Windows/Linux.
Hi! I have been at this for over 3 hours now and no matter what I do I just can’t get them lined up. I have followed the instructions to the letter but for some reason I still get a small offset on the bottom or the side of my stickers. Any tips? Thank you!
I am having the same problem girl! I am thinking my cricut isn’t cutting consistently where I ask it to? It must pull the mat in differently ever time because all of mine are not cutting correctly on the lines. I can’t figure out how to fix it 😩
My Cricut sticker paper just gets jammed in my Epson ET 2750. What settings do you use?
I cannot get it to go through.
wondering if it would work using a full 12 X 24 inch mat and a larger image?
Can’t wait to try this. I think I need a mat dedicated to it!
You are brilliant! I’ve been trying to make a “cricut sized” print and cut of custom calendar white board stickers and design space can’t handle it as the file is too big! I’m off to photoshop! They really should sell a specialty mat for this. I’m thinking of using foam or something thicker for the edge…
Thank you!