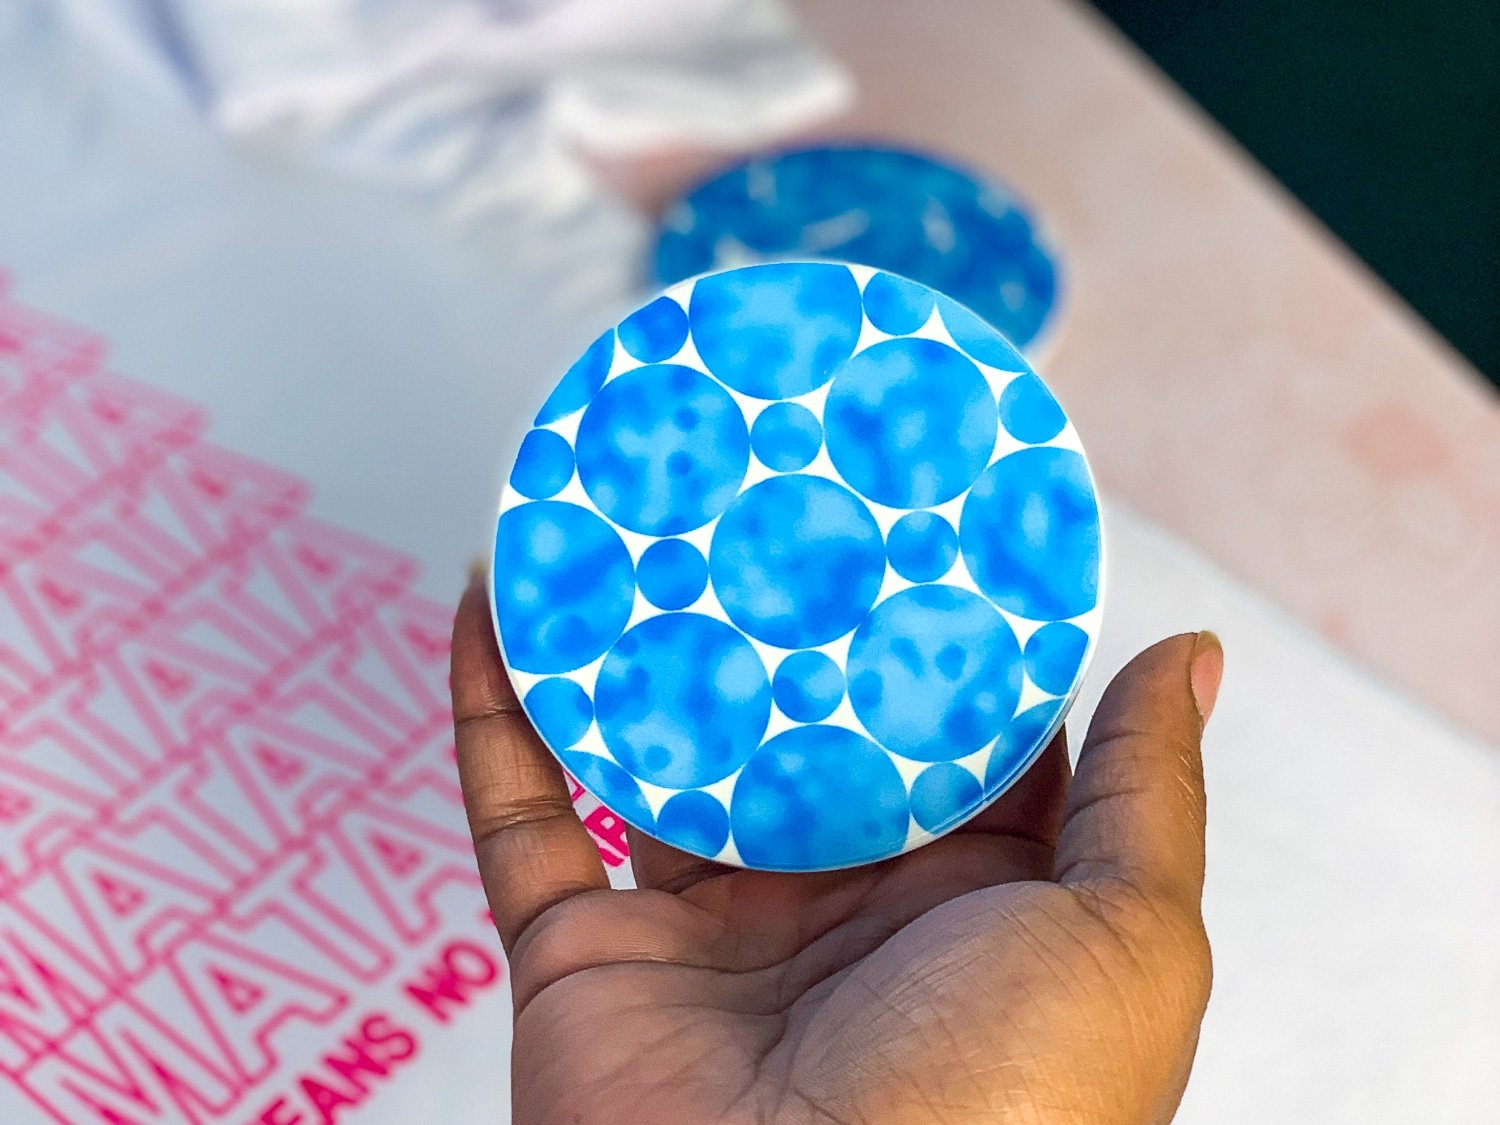
I had the great idea to use my Cricut Infusible Ink Transfer Sheets to make coasters. Cricut makes this pretty blue cloud looking transfer sheet, this is the one here.
I used the round coasters which are ceramic, so if you have the square coasters you can check here to find the guides on heat settings and time.

But I wanted to go a step further and outline the design I cut out of the transfer sheets with the Cricut Infusible Ink Pens.
What I did was found a design I liked in Cricut design space, I literally went in there and typed in coasters, I know really unique lol.
Coasters With Cricut Infusible Ink Transfer Sheets and Pens
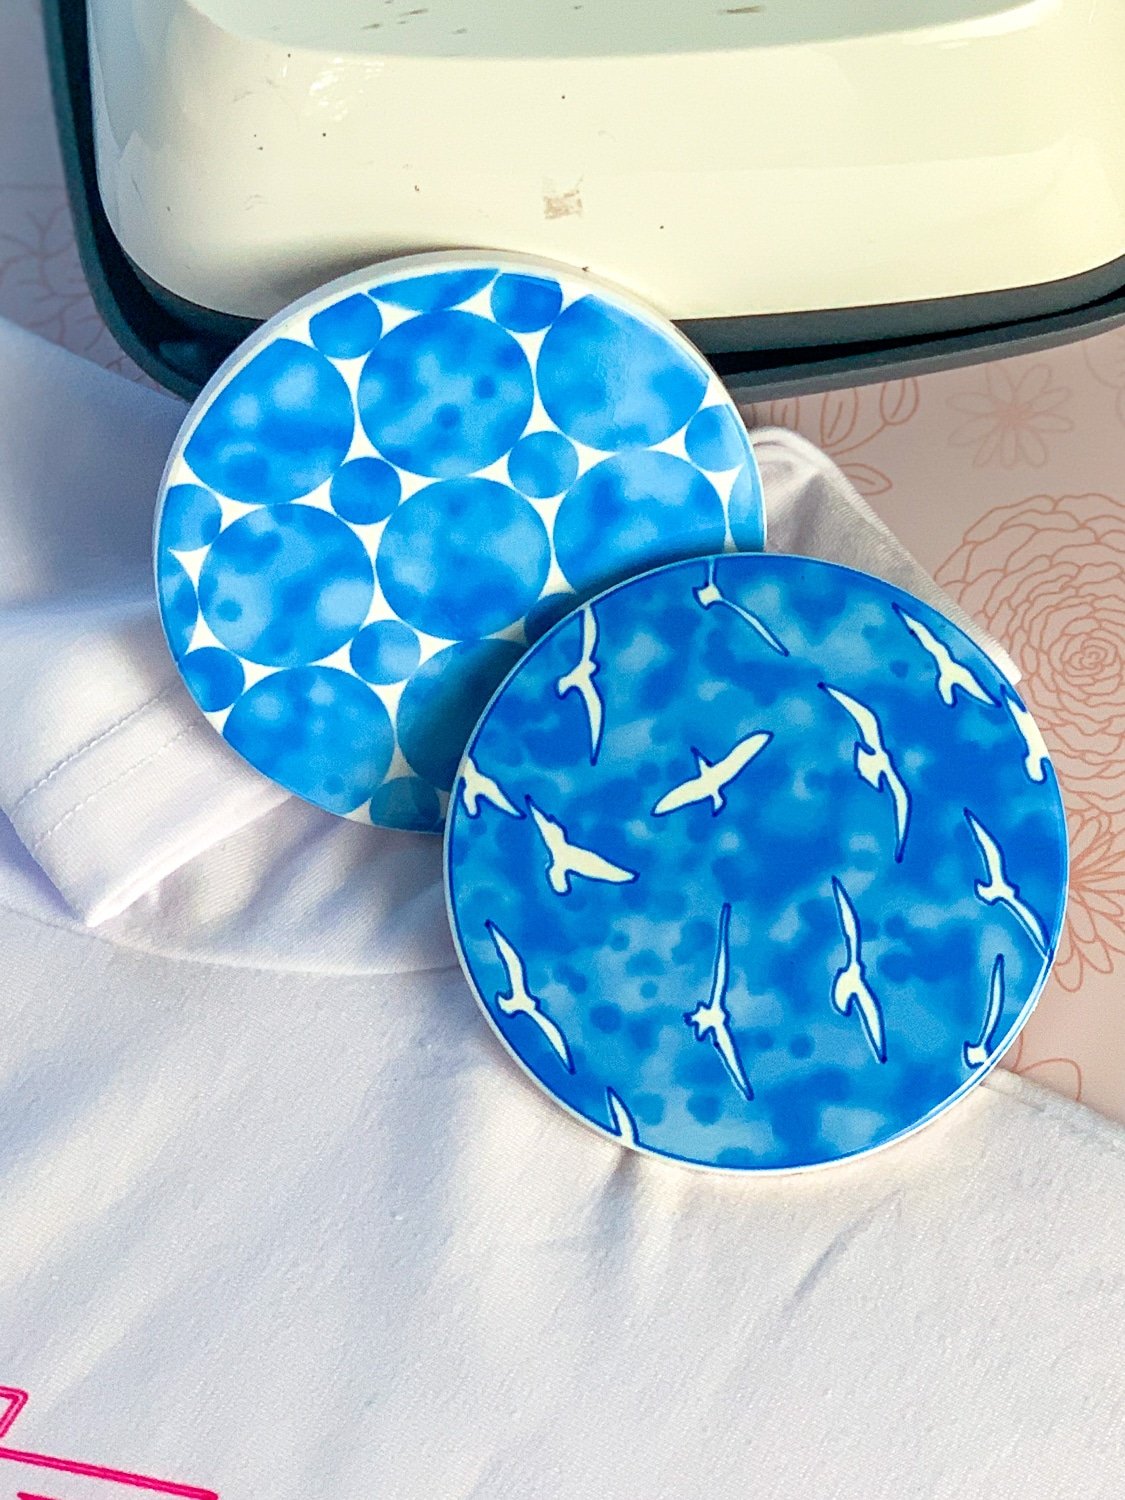
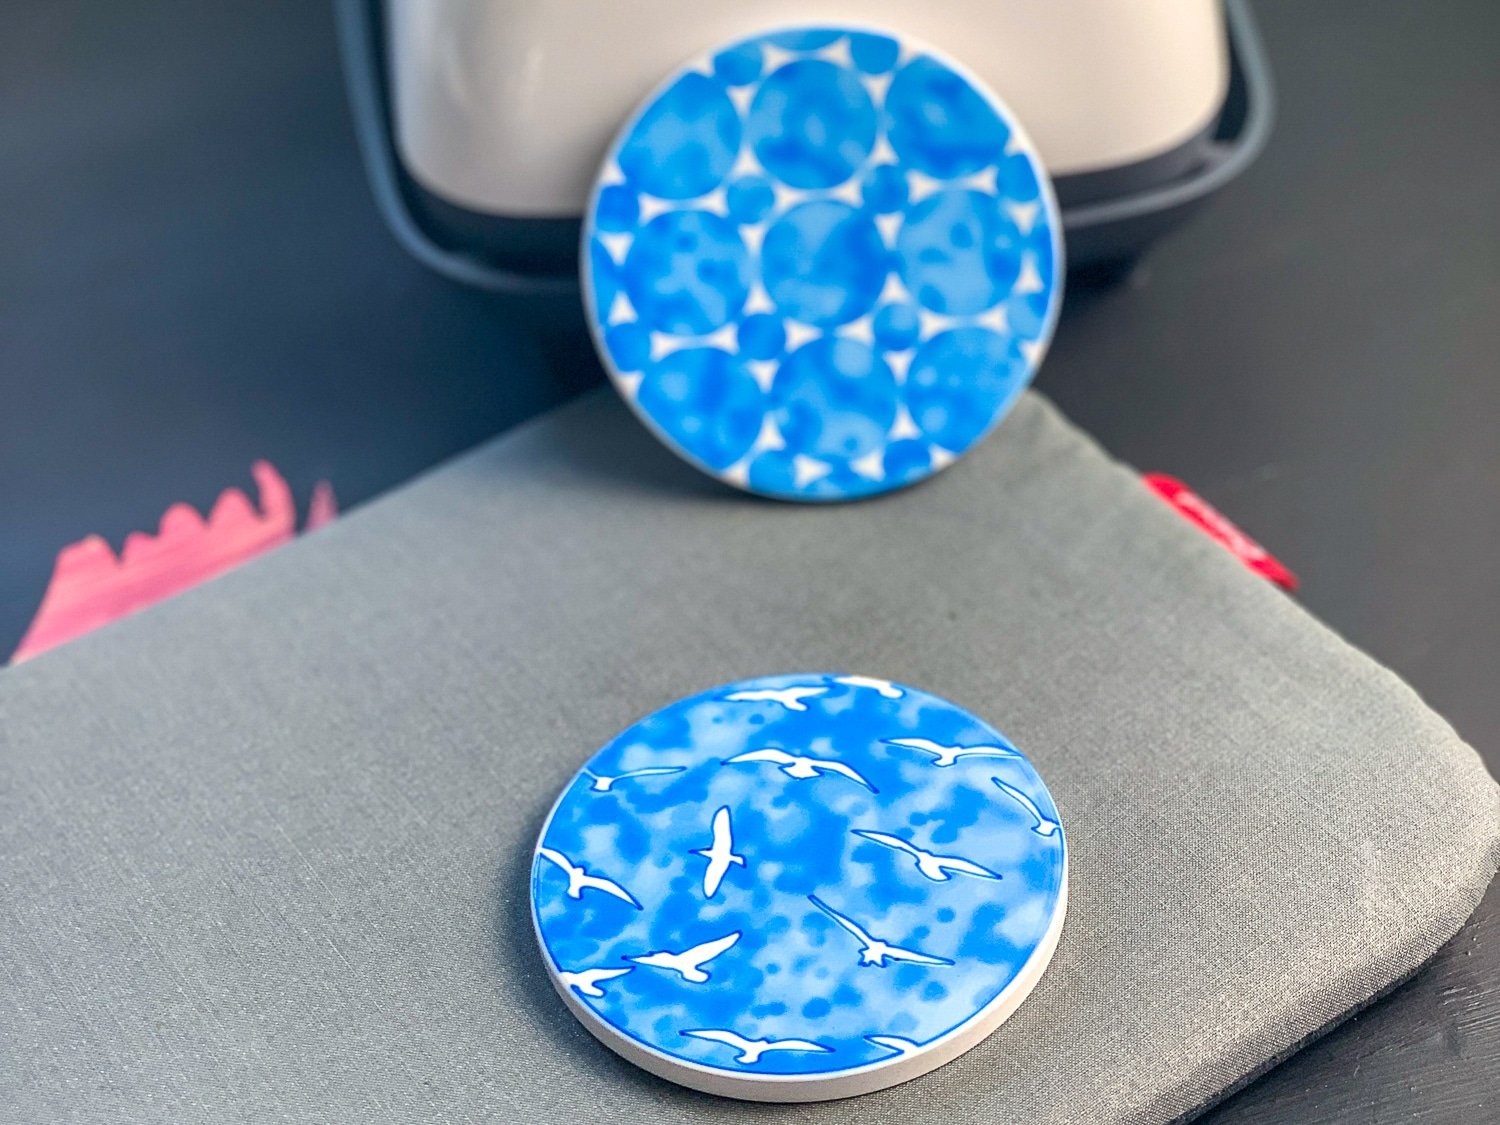
I only wanted to do 2 coasters, so I selected 2 designs. 1 with circles and 1 with birds.
Once I got the images into Design Space and changed the colors, and then I duplicated them and changed the cut lines on the duplicates to draw and clicked to make it.
I pressed them both with the Cricut Infusible Ink Transfers first, once I did, I decided I liked the circles so much that I didn't want to trace them, ok you got me, I also got scared that it wouldn't work... But it did, and came out amazing.

What do I need to use Cricut Infusible Ink Transfer Sheets to make my own coasters?
- Cricut Cutting Machine(any will work, but I love my Cricut Maker)
- EasyPress
- EasyPress Mat
- Cricut Infusible Ink Heat Transfer Sheets
Infusible ink is a lot like sublimation, the thing I really love about them is that it cuts and applies like heat transfers or vinyl application.
There are a few Cricut Approved blanks out there, shirts, tote bags, baby bodysuits, and a growing list of compatible materials.
 They seamlessly smooth and transfers and once you get the artwork attached and pressed, there is absolutely no raise or feel to it, it is literally infused into the coaster.
These Coasters were really super simple to make and would make awesome gifts and even a great item to sell.
If you want to learn to use the Infusible Ink Pens check out my post on How To Use Cricut Infusible Ink Pens its a really simple how to.

How To Make Coasters With Cricut Infusible Ink Transfer Sheets
I had the great idea to use my Cricut Infusible Ink Transfer Sheets to make coasters. But I also wanted to outline them using the pens. It turned out great!
Materials
- Cricut Transfer Sheets
- Infusible Ink Pen (only if creating an outline)
- Cricut Blank Tshirt
- Laser Printer or Sublimation Paper (only if creating an outline)
- Lint Roller
- Butcher Paper (comes in the package with transfer sheets)
Tools
- Cricut Machine
- Light Grip Mat
Instructions
- Find a design that you like in Cricut access or upload your own, round works best.
- Add to your canvas
- If you are going to outline the image using the pens then duplicate the layer and change the cut line to draw and select your pen tip size
- Resize to 3.5 inches
- Press make it
- If your design has words make sure to mirror
- Put the transfer sheet onto your mat and load into the machine
- Select Infusible Ink transfers from the materials press cut
- When done unload and load the paper for the outline
- Crack and peel to reveal the design
- Place the design face down onto your coaster and tape down the sides
- Place your butcher paper on top and press for 240 seconds
- Carefully remove the transfer sheet it will be hot
- Optional: If you are doing an outline allow to cool first and line it up, and repeat steps 11-13
Recommended Products
This post and some photos may contain Amazon and other affiliate links, I will be compensated if you make a purchase after clicking on my links.


[…] To learn how to use the transfer sheets go here. […]