


This is a sponsored conversation written by me on behalf of Cricut. The opinions and text are all mine.
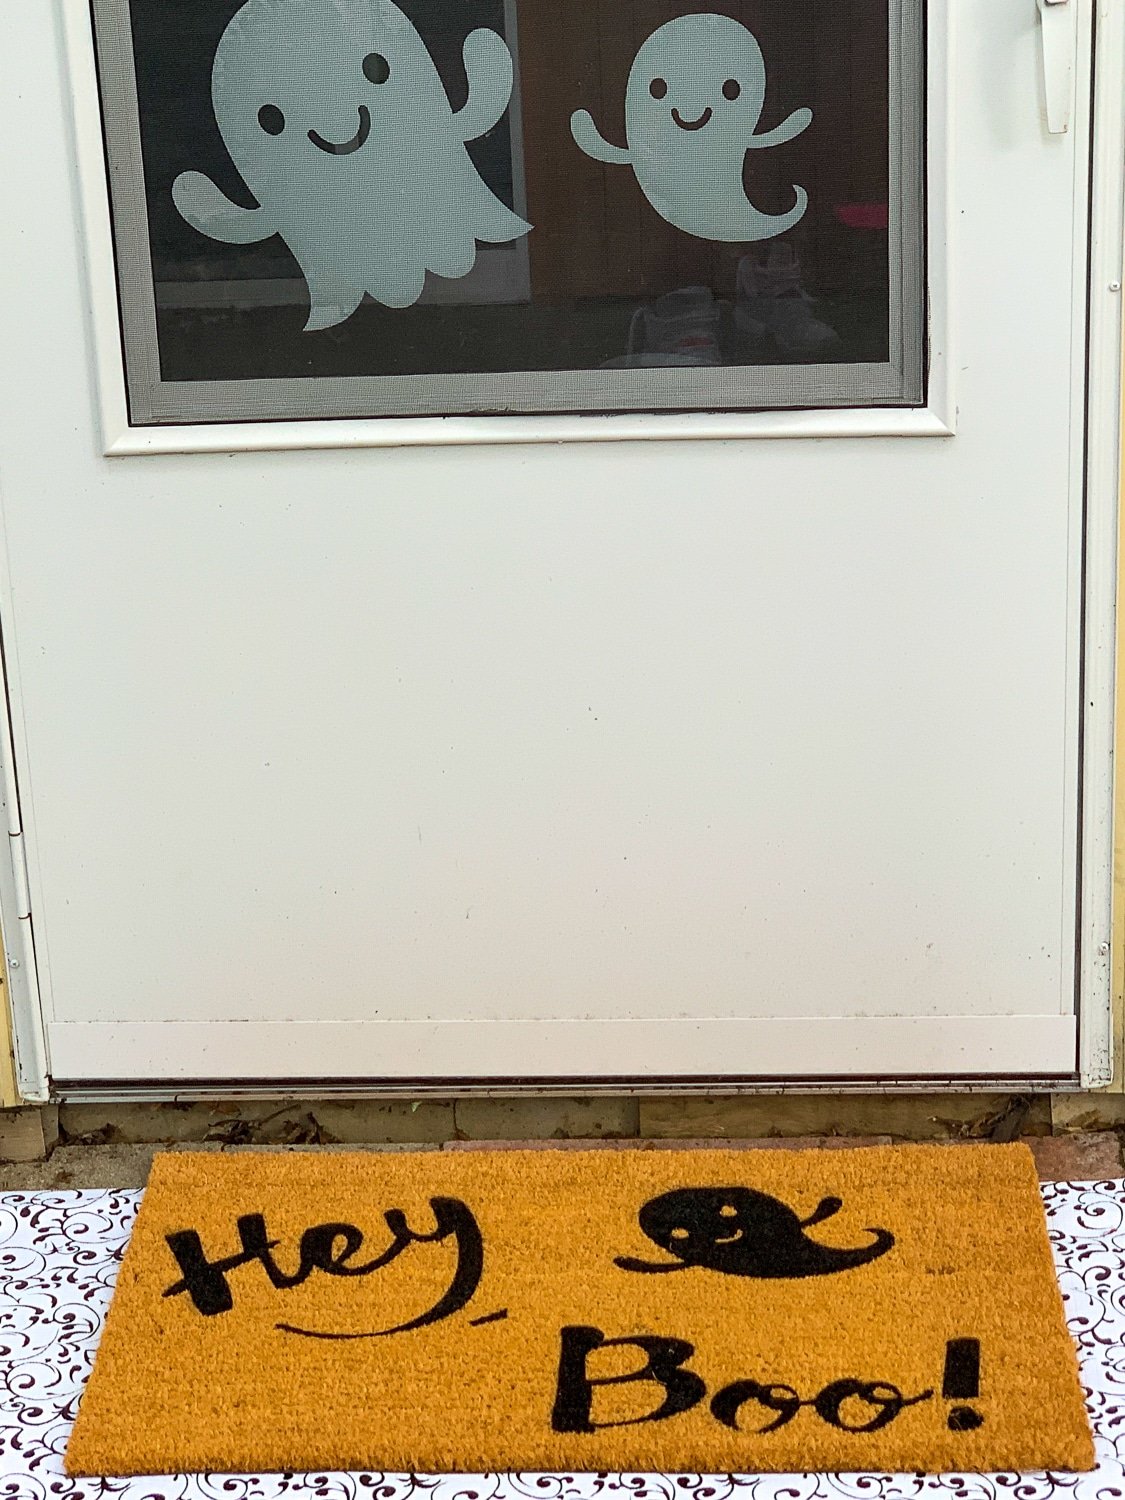
Time to get your Cricut machine out for a brand new amazing craft idea, like this Halloween doormat! It’s adorable, playful, and sure to get a giggle out of everyone that stops by for a visit.
Get this super cute Halloween Window Decor With Cricut Window Cling here.
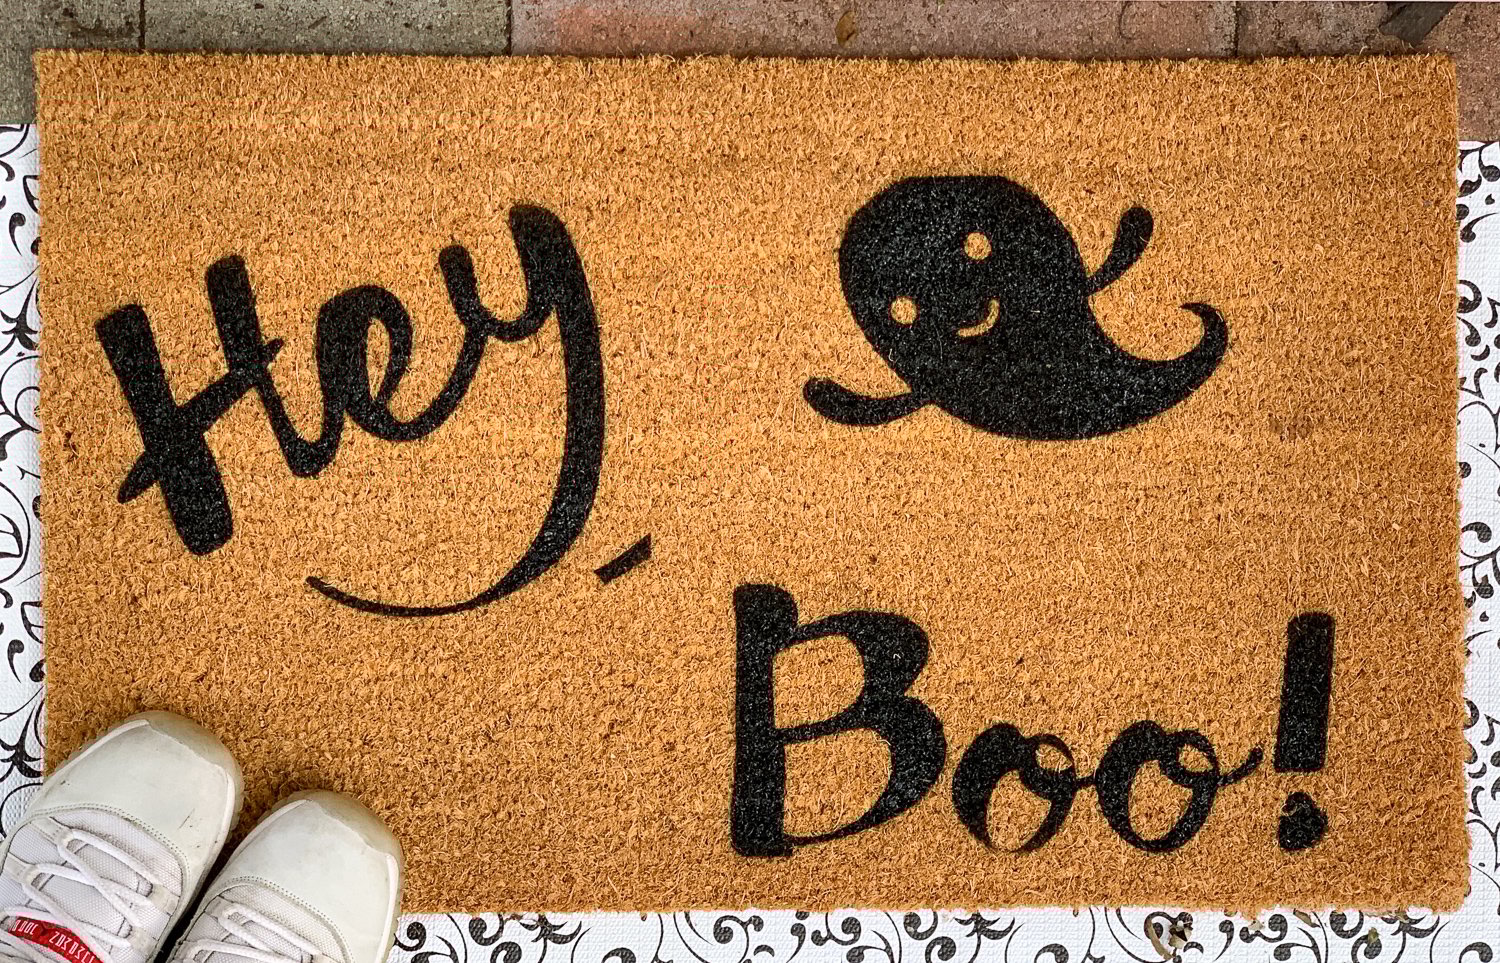
Cricut Halloween Doormat
You don’t have to spend an arm and a leg buying doormats for each season when you can make them yourself.
Besides, who doesn’t love to be crafty and do all sorts of DIY projects? Plus, you can make this Halloween doormat as a gift idea too.
If you are looking for another easy Halloween craft idea, you seriously need to see my Halloween Window Decor With Cricut Window Cling. They are easy and super cute to make.
Easy Cricut Halloween Doormat
If you haven’t gotten a Cricut machine yet, you have been missing out. The Cricut is seriously the ULTIMATE tool for personalizing all things Halloween themed.
You can make this Halloween welcome mat for the outside of your home, but it would even be amazing indoors too.
Using a Cricut for customizing your DIY doormat, means that you can create any designs you like.
You do make a pumpkin, haunted house, or even a Frankenstein themed doormat.
Put any word or phrases you like. I love the “Hey, Boo!” because it completely fits my personality, and I just knew it would turn out perfectly.

How Do You Make A Halloween Doormat?
Use your Cricut machine and a few supplies to make a Halloween doormat in no time.
Don’t forget to go to Design Space to create your own design.
Supplies and Tools Needed:
- Blank Coir Mat
- Cricut Chalkboard Vinyl
- Transfer Tape
- Masking Tape
- Flex SealCricut Standard Grip Mat
- Cricut Machine
- Weeding Tool
- Vinyl Scraper or Brayer
Cricut Chalkboard Vinyl
This time I used chalkboard vinyl, for a couple of reasons.
- I had it on hand
- It’s a thicker, more sturdy material, and I wanted to see how it would stick onto the Coir mat.
Using the chalkboard, vinyl turned out awesome. It was terrific to work with, and I am glad I used it.
You can use any adhesive vinyl that you want to, but I think you will be happy with the chalkboard vinyl for this DIY doormat
How Long Does It Take To Make This Halloween Doormat?
I know when you glance at this Halloween doormat, you probably think it takes hours to complete.
Guess what, you can throw this fall doormat together in around 30 minutes.
You will have all sorts of time to do other activities and will be thrilled with the amazing results.
Will This Doormat Last A While?
Yes, by using Flex Seal, you will get a beautiful finish that lasts.
You don’t have to worry about bringing it indoors if it rains. It’s meant to get a little wet or snowy. I
f it eventually comes off, then you can always go back over it again with updated Cricut vinyl.
How Do You Keep A Doormat Clean?
Keeping your new Halloween doormat clean is pretty simple. I like to hang it up outside and beat the opposite side of the doormat with a broom. This will know the dust, leaves, or grass particles out of the rug.
Another option is to use a vacuum cleaner to suck up anything that is stuck on it.
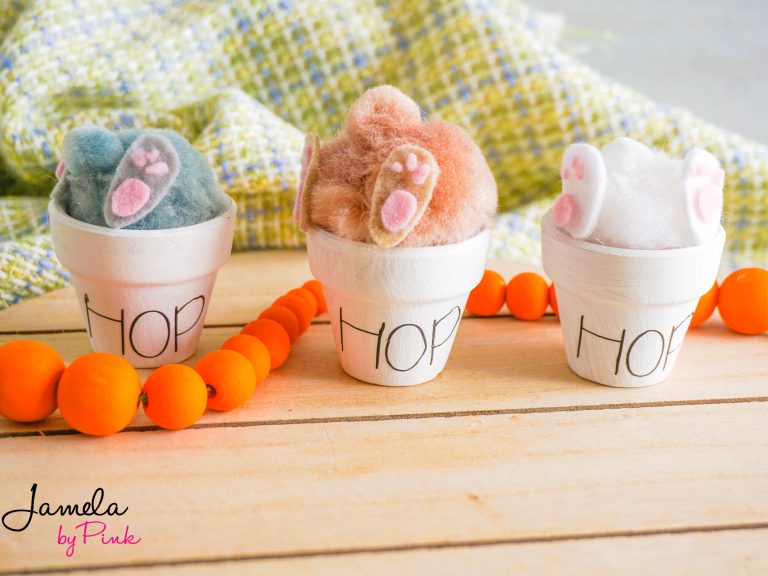
Don’t worry, if you are looking for even more crafts to do; I got you covered.
Check out this awesome Fall Doormat with Free SVG. Or if you are seeking a doormat with a bit of my hilarious personality, take a peek at my Custom Outdoor Mat Using A Cricut. If you want to save even more money, check out my Dollar Tree DIY Funny Doormat.

How To Make A Halloween Doormat
Materials
- blank Coir Mat
- Cricut Chalkboard vinyl
- Transfer Tape
- Masking tape
- Flex Seal
Tools
- Cricut Standard Grip Mat
- Cricut Machine
- Weeding Tool
- Vinyl Scraper or
- Brayer
Instructions
- Use Cricut design space to make the design or use mine linked above.
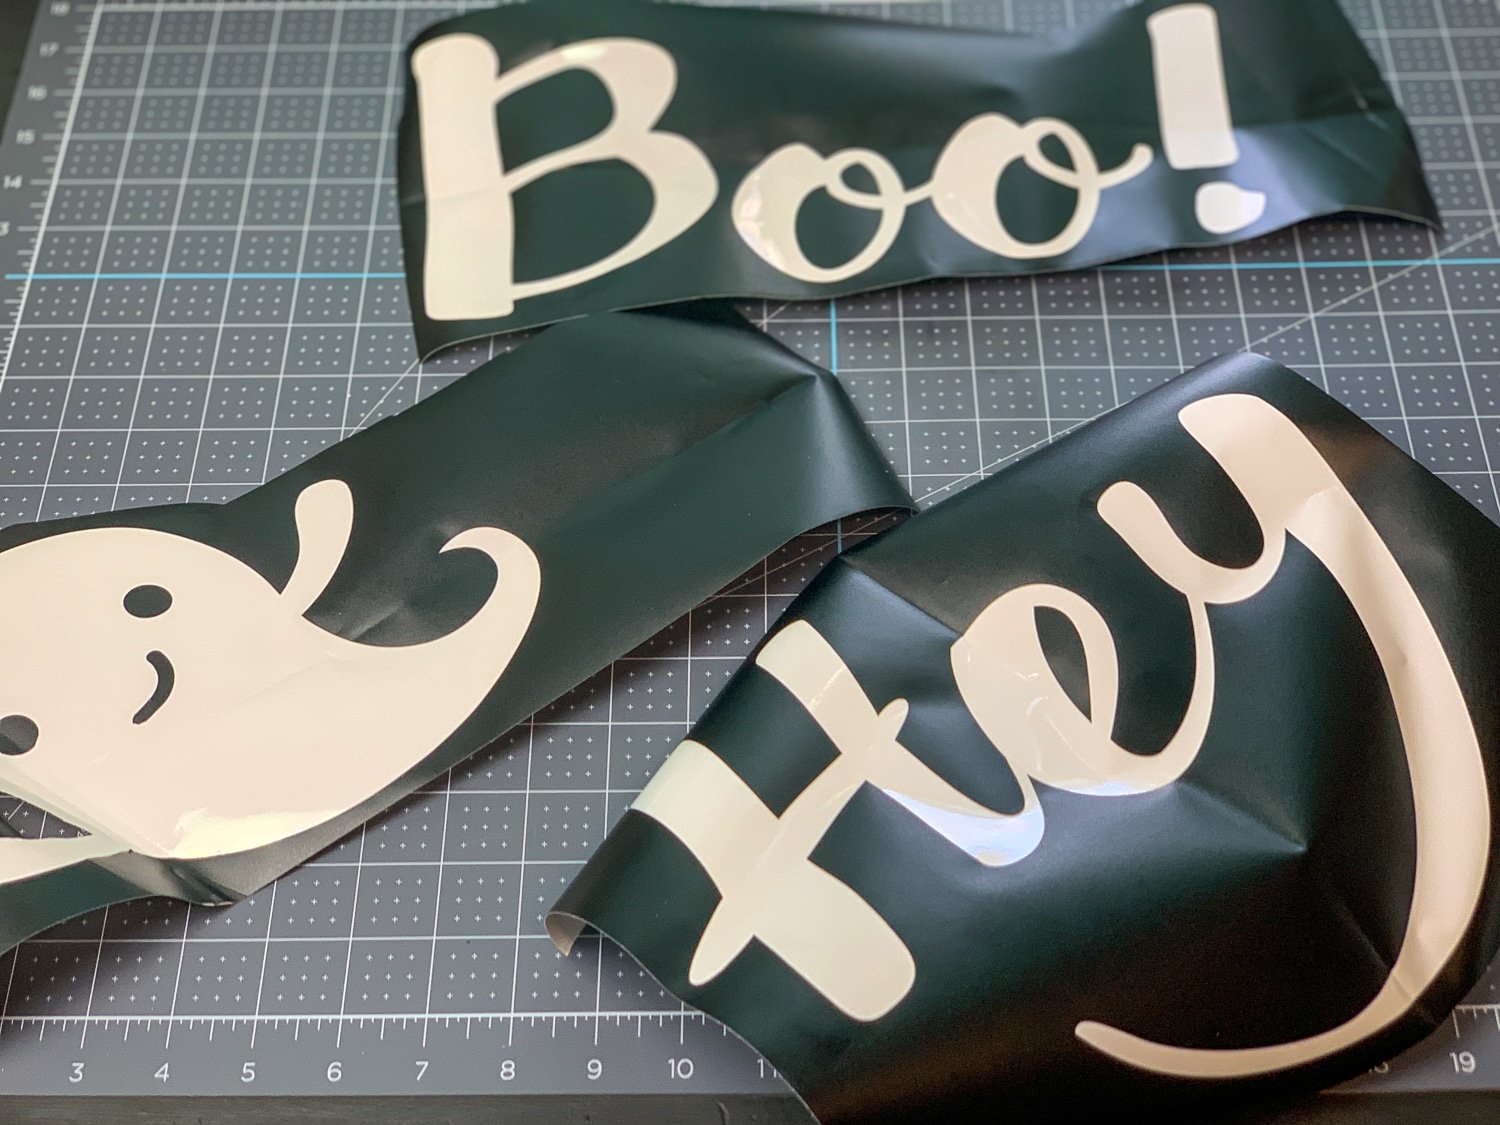
- Cut a stencil from the chalkboard vinyl with your Cricut machine.
- Weed the vinyl opposite what you would normally and apply transfer Tape to your stencil (I use some that I have used over and over so most of the sticky is gone)
- Apply the chalkboard vinyl onto the mat

- Carefully pull off the transfer paper leaving your custom stencil behind onto the mat
- Use the masking tape to tape down the stencil
- Using the tape cover the remainder of the mat so that you only get Flex seal where you want it

- Hold the flex seal nozzle directly above the mat, making sure to stay above and spray over your words until they are fully covered

- Remove the vinyl stencil as soon as you are happy with the coverage and allow to dry for at least 24 hours
Notes
The chalkboard vinyl is thicker and stiffer so it worked amazing for this Halloween doormat, plus it stuck better to the cior.
Really cute! Where do you get the Flex Seal? This is a type of SPray Paint?