


Every door of every house needs a custom welcome mat, in my opinion. And these easy custom outdoor mats are so simple to make, I’m gonna need a new sarcastic welcome mat for every season.
I had been looking all over for the perfect sarcastic door mat to match my smart-mouthed personality. I couldn’t find anything no matter how hard I looked.
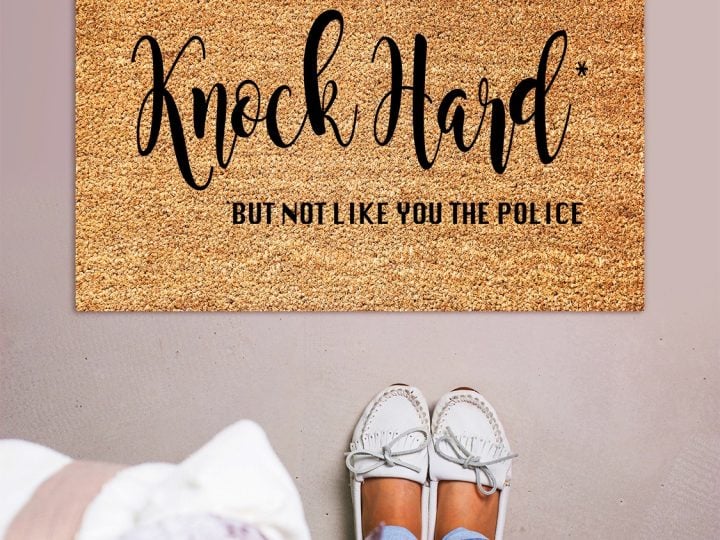
In the end, I decided on this funny welcome mat for my door. I also recorded so I could teach you how to make a custom outdoor mat too!
DIY Doormats
It’s like all the custom welcome mat designers out there have no sense of humor and just want to make your front porch look like your grandma’s. I mean, seriously, porch mats in the store are just so boring.
Then one day, while walking through Joann Fabric. I came across a blank coir doormat and a lightbulb went off. I can make Cricut stencils and make my own custom welcome mat.
You better believe that doormat went into my cart along with a few other supplies, because this project was ON.
But then, of course, I had to come up with something to say, which took some time.
What You Need to Make A Custom Welcome Mat
This DIY custom welcome mat is way easy to make–so easy, you could make several of them at one time if you wanted so that you could switch them out or even have them at different doors. I’d even dare say that these personalized doormats are perfect for gifts if you have an idea of what your gift recipient might want on a doormat.
So, start with a few ideas for what you’d want on your rug. I tossed out a few, then narrowed it down before settling on one.
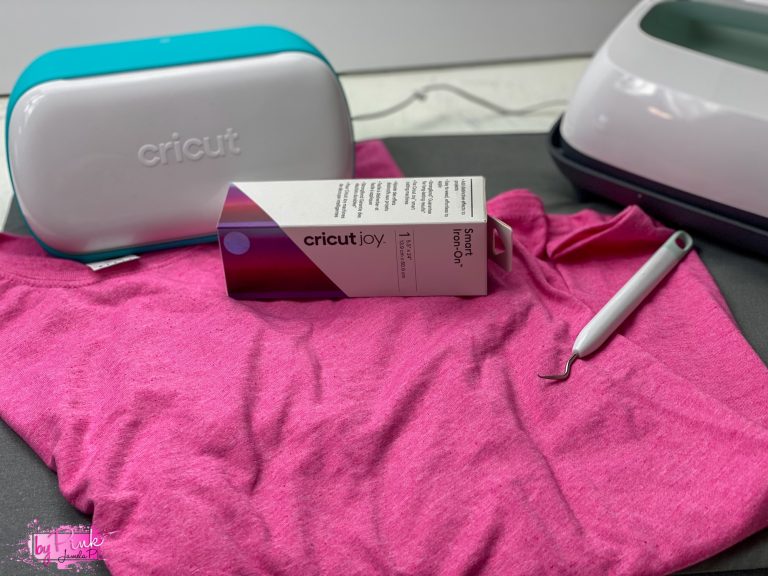
You will just need a few things to make your custom welcome mat:
- Blank Coir mat They are usually on sale here
- Permanent adhesive vinyl or Cricut stencil vinyl
- Transfer Tape
- Outdoor paint (even spray paint, just be careful of overspray–but not craft acrylic paint)
- or you can use Flex Seal like this doormat
- Masking tape
- You can grab this design here
Or you can make your design right inside Cricut Design Space, you can do whatever you like. You can use an image from Cricut Access or design your own, do only text or a combination of text and illustrations. You can grab free printables and turn them into your own SVGs if you have the skills.
Seriously, the design possibilities are endless. It’s just all about what you want your custom welcome mat to say on your front porch. Just feel free to get as creative as you want–it’s your personalized doormat, after all.
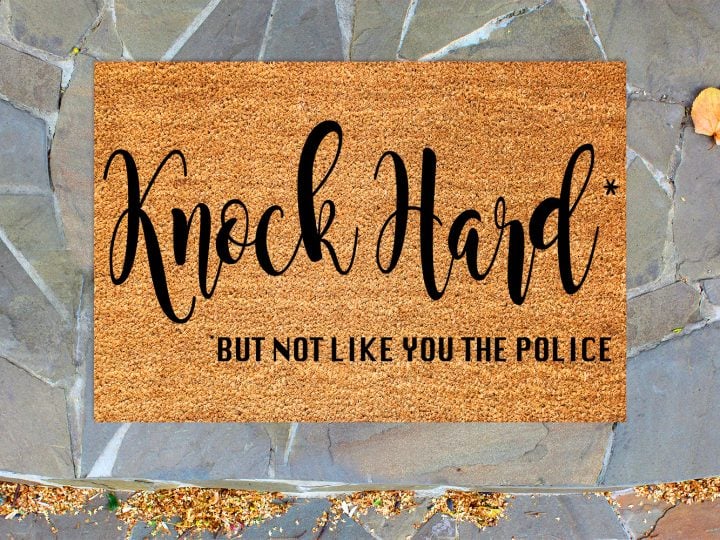
I decided I wanted mine to say, knock hard, but not like you the police, because THAT is a funny doormat. The natural coir fiber outdoor mat is great for cleaning off muddy feet, and the outdoor paint lasts forever no matter the weather conditions.
It gets down into the fibers and sticks really well to the mat. The coir material is a heavy-duty material that is great for indoor or outdoor. It is kind of prickly, though, so I wouldn’t want to use it for a shower rug or anything–bare feet on coir just doesn’t seem like they’d mix too well.
That coir material is great at trapping dirt so it won’t be dragged into your house. This is the best thing about having a doormat in my opinion.
How to Make a Custom Welcome Mat With Cricut Stencils
To actually make the doormat, you will need to:
- Create a stencil in Cricut Design Space, or upload a pre-made SVG Check out the ones in my shop here
- Cut a stencil with your Cricut machine.
- Apply transfer tape to your stencil (I like to use a piece that has been previously used so it comes off easily, just a trick I’ve learned)
- Press the vinyl onto the mat (it won’t stick completely, but do your best)
- Carefully pull off the transfer paper, leaving your custom stencil behind onto the mat
- Use the masking tape to tape down the design to the floor mat
- With a blow dryer or heat gun, heat the vinyl so that it pulls taut–you want it to be as snug as possible so you have very little squeeze-out
- Apply paint, being careful not to get it anywhere but on the stencil and where you want it to be–no sense in ruining this doormat before you can even get it to the porch
- When done remove the vinyl to reveal your design
Check out these awesome Cricut Projects too:
Cricut cutting machines can make your own custom items so easy and simple. Can you imagine all of the things you could say on a doormat?
Cricut is an amazing way to do all sorts of home improvements to your home. This front door rug is just a start.
Check out all these really adorable projects that I’ve got for using the Cricut–and these are JUST the beginning.
- DIY Unicorn Wall Decal with Free Unicorn SVG
- Cricut EasyPress 2: How To Make A Cute Owl Applique With Your Cricut Maker
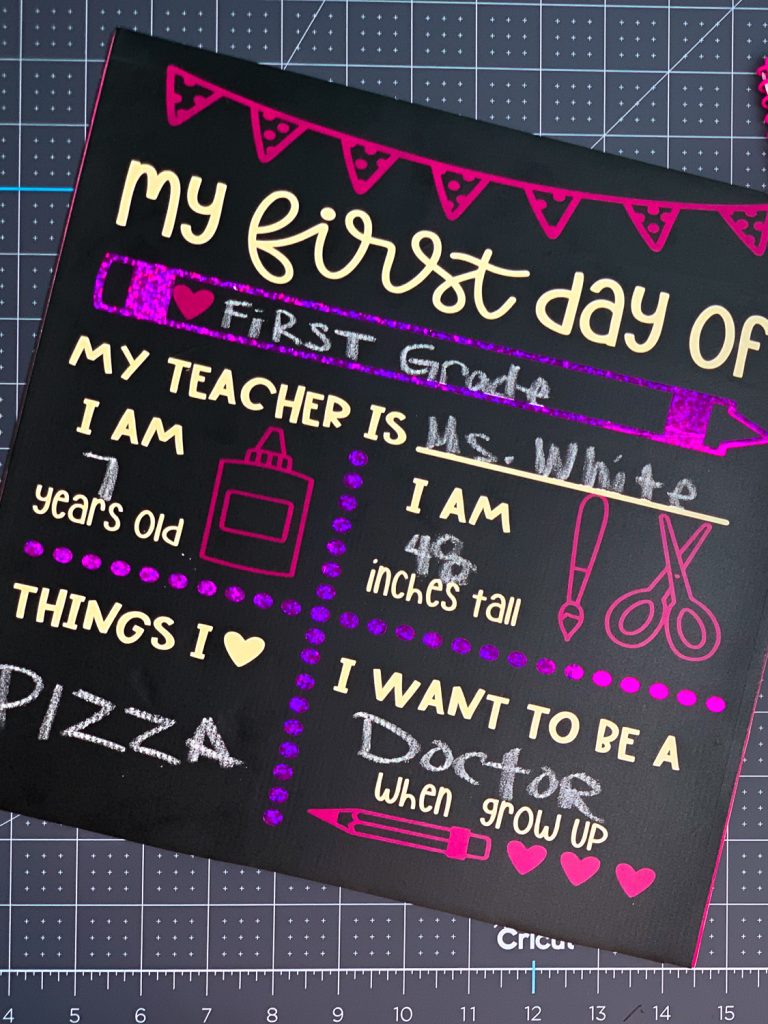
- First Day Of Kindergarten: Plus Free SVG Files For Cricut Design Space

How To Make A Custom Welcome Mat Using Your Cricut
Every door of every house needs a custom welcome mat, in my opinion. And these easy custom outdoor mats are so simple to make, I'm gonna need a new sarcastic door mat for every season.
Materials
Tools
- Cricut Standard Grip Mat
- Cricut Machine
- Weeding Tool
- Vinyl Scraper
- Weeding ring (nice but optional)
Instructions
- Download the design.
- Upload into Design Space.
- resize your design to fit the size of your mat, I always make mine 23.5 inches.
- Cut a stencil with your Cricut machine.
- Weed out the words, leaving the void, meaning you should see the paper backing where the words should be
- Apply transfer Tape to your stencil (I reuse the same piece so that it isn't as sticky)
- Use your scraper to transfer the stencil to your transfer sheet.
- Apply the vinyl onto the mat.
- Carefully pull off the transfer paper leaving your custom stencil behind onto the mat.
- Use the masking tape to tape down the design to the floor mat.
- Using a blow dryer or heat gun, heat the vinyl so that it sort of melts tight.
- Apply paint by dabbing with your brush, I sprayed a light coat of white spray paint to prime a bit.
- Remove the vinyl stencil as soon as you are done painting and touch up any areas that may need more paint Dry for 24 hours
Notes
For more direction, see the video above.
Recommended Products
This post and some photos may contain Amazon and other affiliate links, I will be compensated if you make a purchase after clicking on my links.


Love your designs. You make it super easy to follow.
Do you need to use the explore air 2 for this project?
I used a cricut maker, any should work.
Do NOT, I repeat, do NOT use heat to help the stencil stick to your mat. All heat does is ruin the adhesive on the stencil and cause all the small details to curl up. This is terrible advice. I wasted $40 in product trying to follow these instructions. Stencil vinyl does not respond well to heat.
First, this is not stencil vinyl and second you don’t need to use much heat at all.
Just wondering, Would you put something over top of the final project to keep the paint from coming off?
I don’t.