


I am so excited to share how to make Personalized Coffee Cups with Adhesive Vinyl because I am seriously in love with how they turned out!
They made the perfect gifts inside my personalized duffle bags that I made for the guests, too…
These cute personalized travel mugs were intended as gifts for the guests at a little sleepover–and they’re not all going to be the gentlest on them, so I knew using adhesive vinyl was the best choice to hold up over time.
Because, you know, that’s one thing I hate: a gift that doesn’t hold up for more than a couple of uses. What a waste!
Plus, like, if it’s not going to hold together, I’m not going to waste my time making it–that’s just stupid.
And I am not doing this just for something so wasteful of MY time. That’s for sure. LOL!
Personalized Coffee Cups: A Great Gift Idea

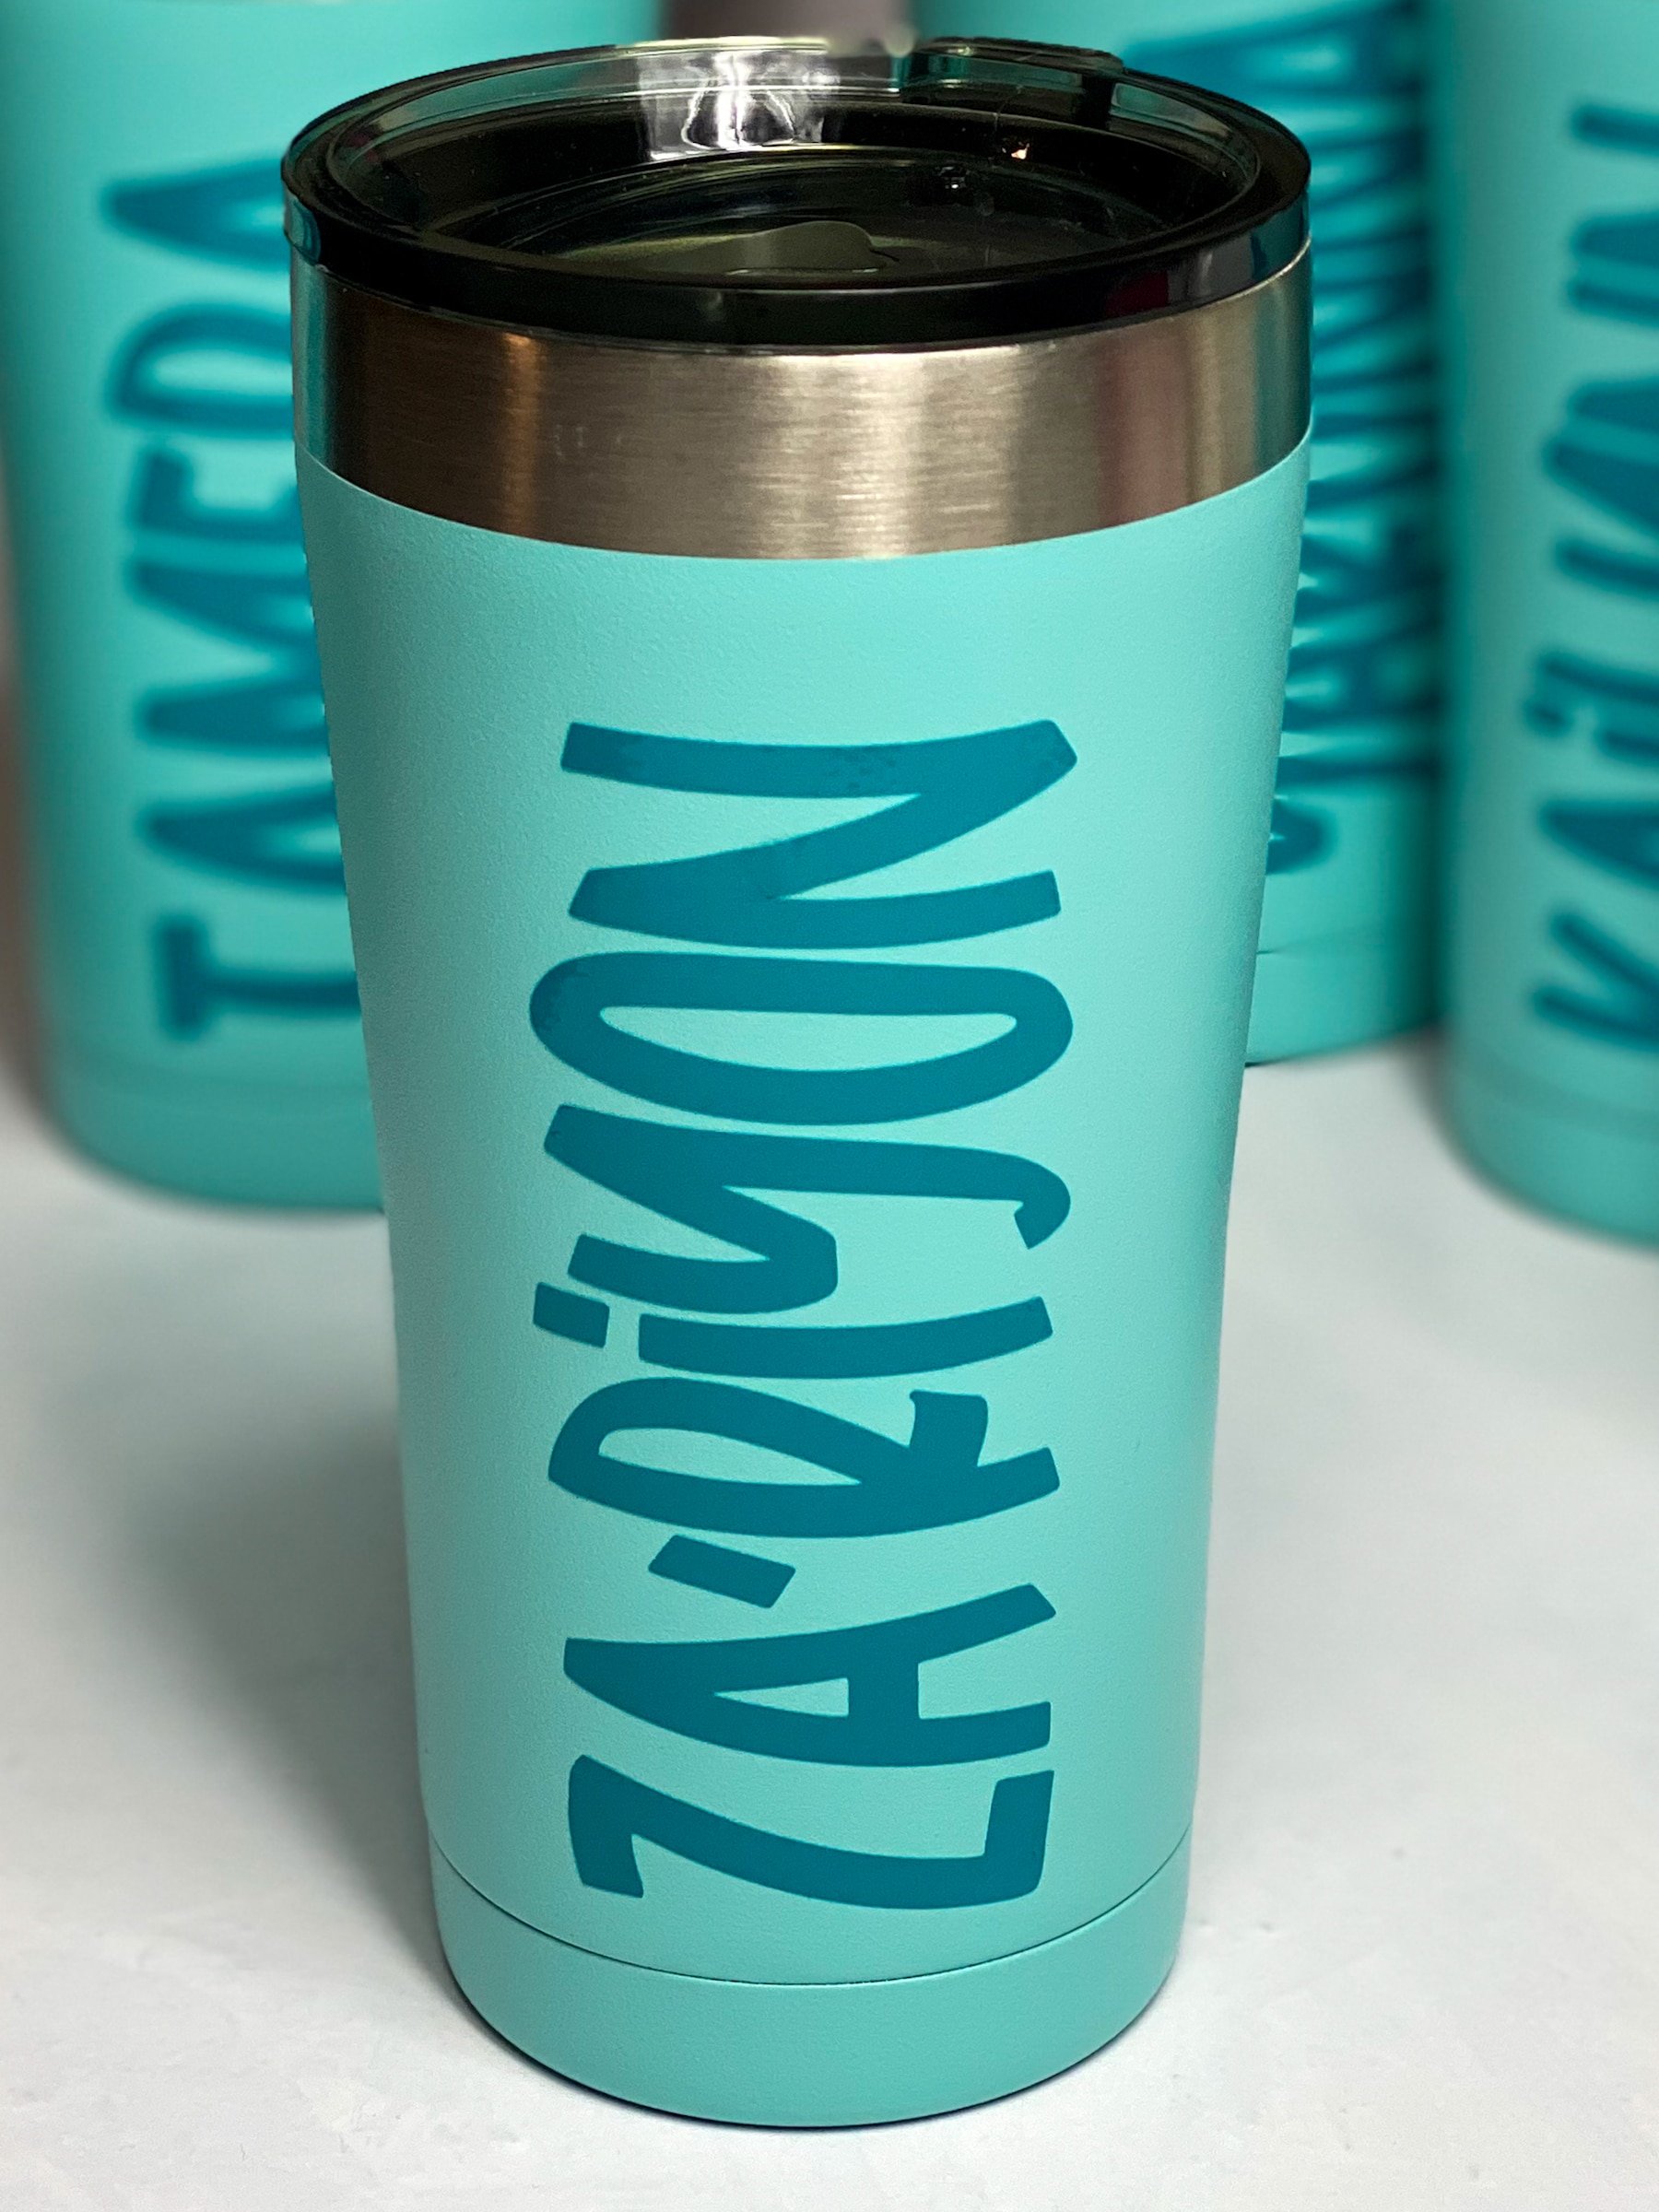
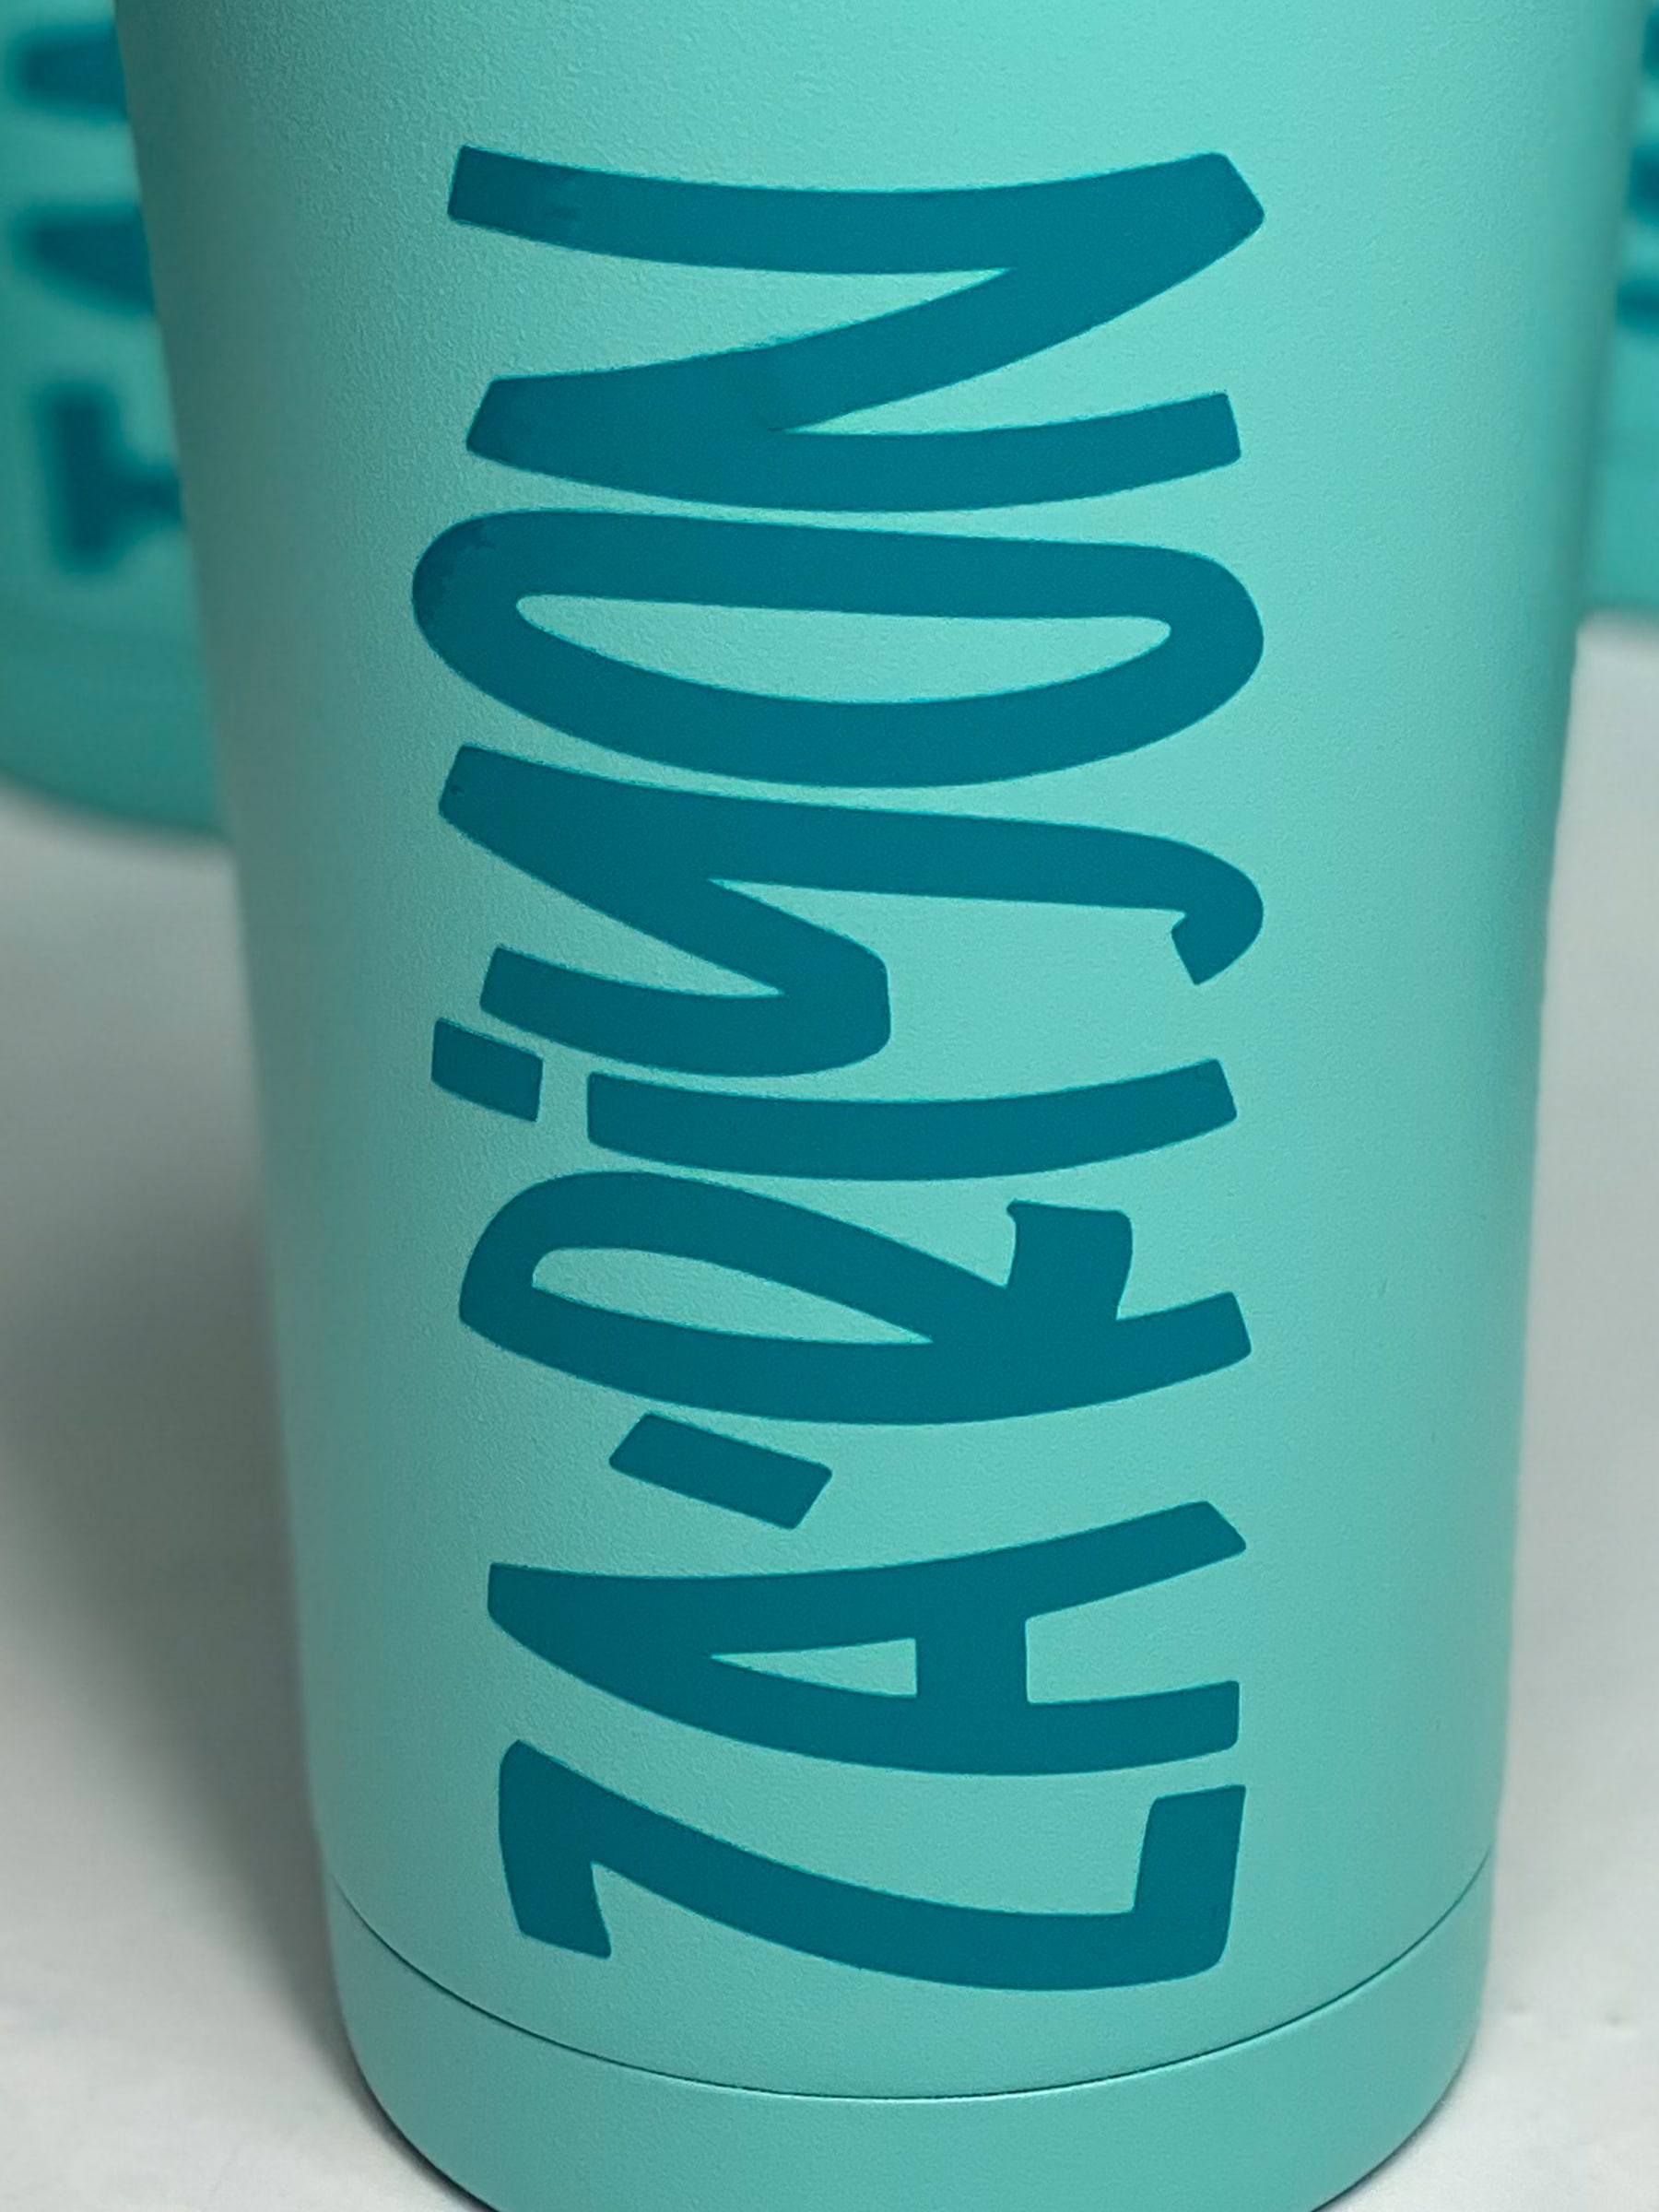
So, adhesive vinyl it was–and then I found these gorgeous colored tumblers and I had the perfect vinyl. It was like a match made in heaven.
The two colors were the same tone, but just off a few shades. Which turned out to be the coolest contrast.
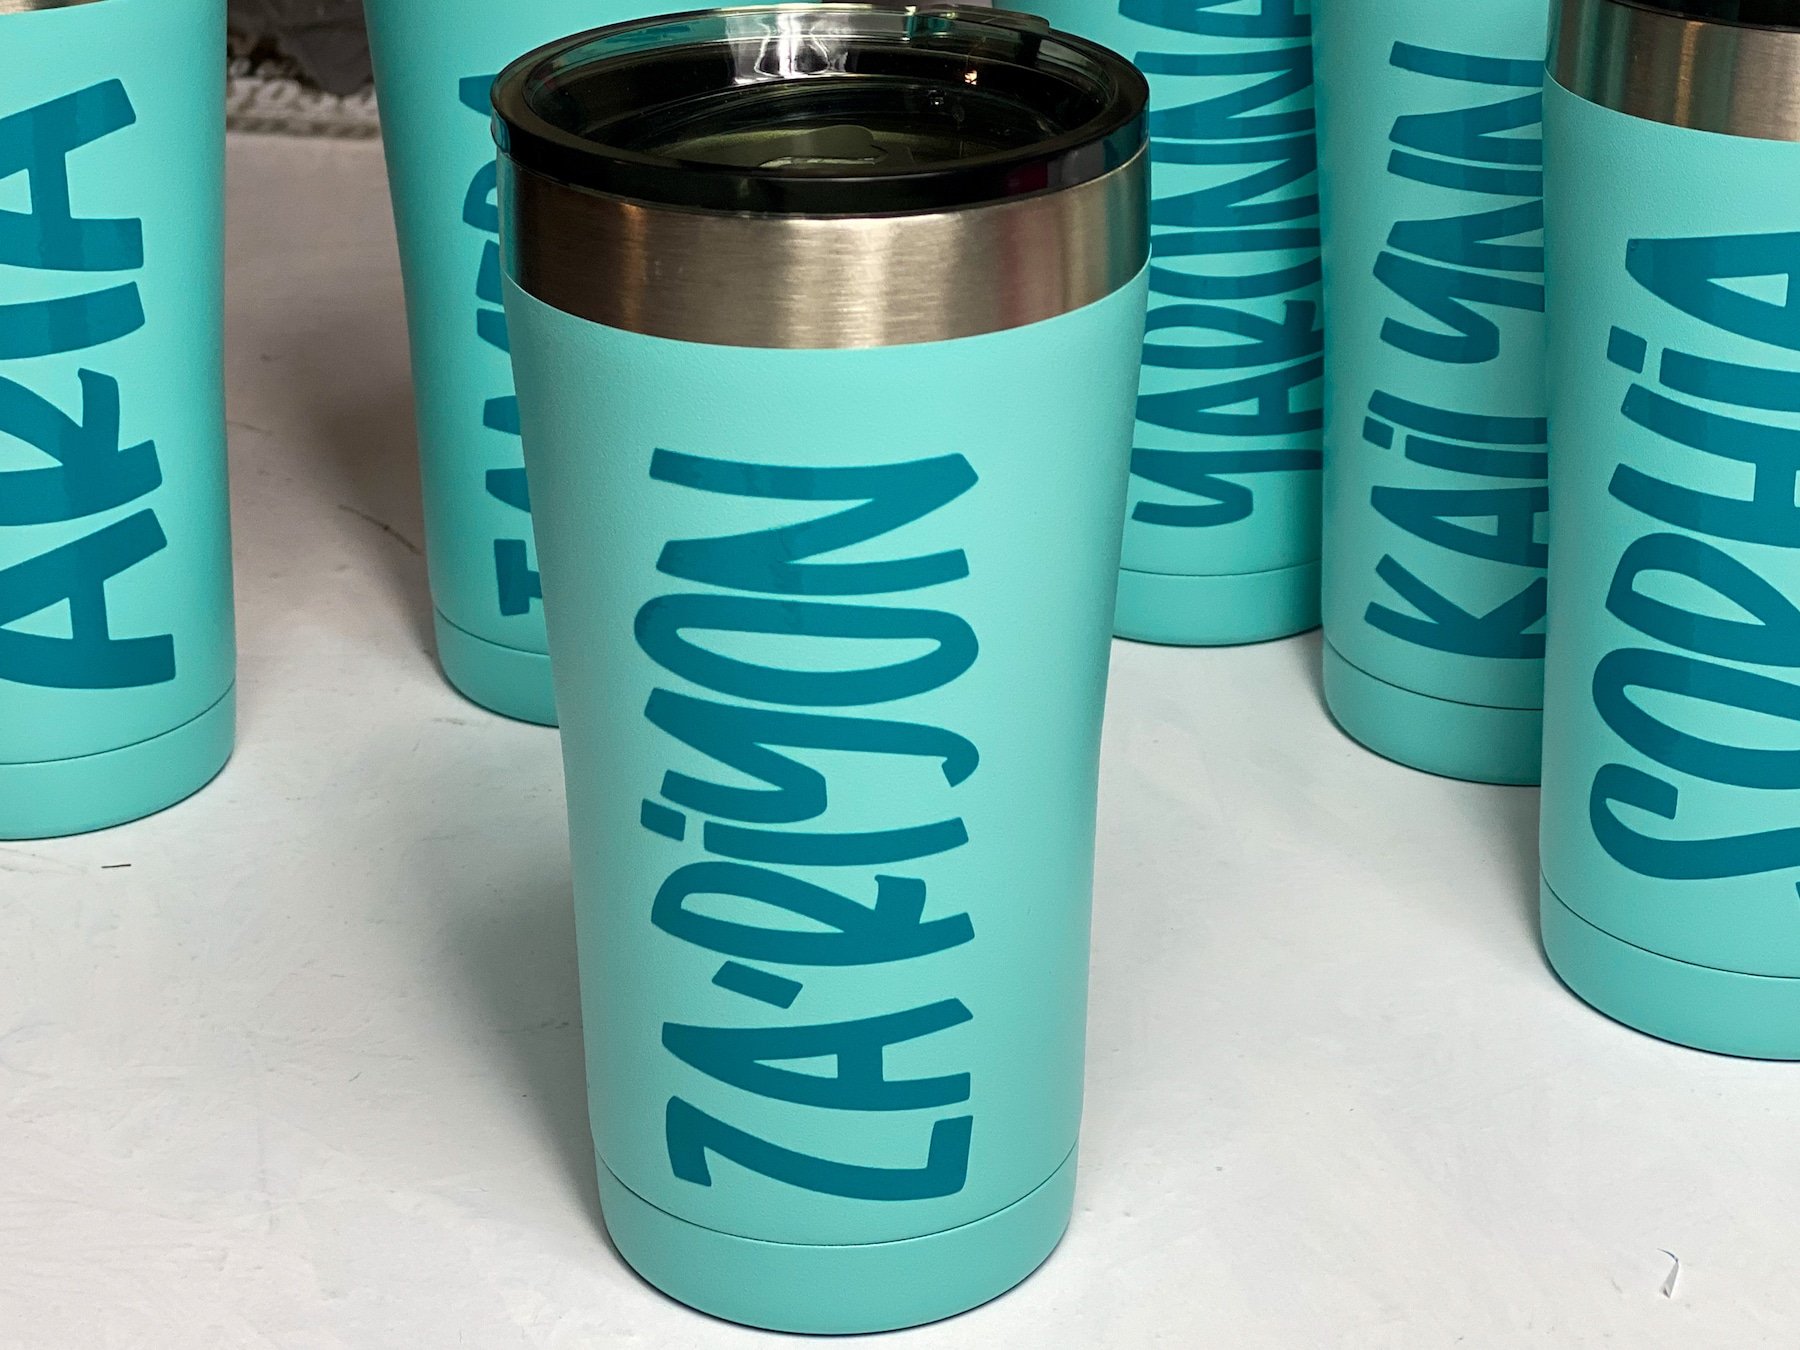
And, of course, I could have gotten each of the girls different colored tumblers–but that would have meant buying different contrasting vinyl and just a whole lotta mess–and what if I didn’t each girl her favorite color–and so many questions I just couldn’t do it.
So, blue on teal and we were in business.
The next real question was: what design to put on these beautiful personalized coffee cups?
I mean, besides the name, because that was one of my goals: to make them each a cup they could use that they KNEW was theirs at my house during the party so we wouldn’t get mixed-up.
I put lots of thought into this.
And I decided: No design. I spent so much time trying to decide that I started to run out of time, so I decided their beautiful names blazoned really big on the side would be perfect–and they were! LOL!
Personalized Coffee Cups
I mean, if I were doing custom coffee mugs for myself, the question would be answered completely differently (in full color with maybe a unicorn or mermaid, honestly)–but with 7-8 other people involved, I was like, nope.
Because no matter which of the million customized designs I chose, someone would not be happy.
But with personalized coffee mugs with just their names? Nobody really has room to complain.
You can use this same tutorial to make personalized ceramic mugs or pretty much any other drinking cup.
It’s an easy vinyl craft, once you get the hang of it, and totally worth it.
What do I need to make Personalized Coffee Cups With Adhesive Vinyl?
For this project here is what you need:
- Permanent Adhesive Vinyl (matte, glossy, glitter, whatever)
- Transfer Tape
- Squeegee/Scraper
- Weeding Tool
- Colored Stainless Steel Coffee Cup (make sure your cup and vinyl are contrasting colors)
- Alcohol
- Cotton or Paper towel
- Cricut Explore 2 or other Cricut Machine
How To Layer Adhesive Vinyl
Think you want a Layered design? Check out my post How To Layer Vinyl Plus Free Starbucks Inspired SVGs
If you are looking for a great way to give your coffee mugs a personal touch, this easy tutorial is an awesome way to do just that.
And while you are in Design Space, click on images and search for the other amazing design elements there that might look really cute on a bistro mug. You will not be sorry!
GRAB THE TUTORIAL

Personalized Coffee Cups With Adhesive Vinyl
Make these awesome (and easy) Cricut personalized coffee cups with adhesive vinyl. Learn how to apply vinyl to a cylindrical surface like a cup or mug in minutes!
Materials
- Permanent Adhesive Vinyl
- Transfer Tape
- Squeegee/Scraper
- Weeding Tool
- Colored Stainless Steel Coffee Cup
- Alcohol
- Cotton or Paper towel
- I used this font
Instructions
- Gather all of your supplies.
- Apply the alcohol to your paper towel or cotton clean the area.
- Measure the area.
- Create and resize the design.
- Cut the permanent adhesive vinyl using the settings that appropriate for your machine.
- Remove from the mat and weed out the voided areas.
- Cut a piece of transfer paper just large enough to cover your design
- Place the transfer sheet over your design.
- Place the design on the cup carefully, I like to start with the middle and move outward.
- Use your scraper to remove the air between the design and the transfer paper making sure to scrape both the front and back of the design.
- Remove the paper backing by gently peeling it away
- Place the design onto your cup, I like to secure the middle then 1 side at a time.
- Again use the scraper to transfer the vinyl from the transfer sheet onto the cup.
- Hand wash only.

Oh wow
Thats a good idea .
OMG what font is this?!?!? It’s so cute!!
This is it https://bit.ly/3wqh3ib
What font did you use for the cups? They look awesome!
It is this font https://bit.ly/3wqh3ib
Beautiful, what font did you use?
This is the font I used https://bit.ly/3wqh3ib