


I have always wanted a customized hoodie, but I had to figure out how to apply HTV to a zipper hoodie–and I did! It’s way easier than I over-thought-it-would be. And so fun.
I mean, I’m not going to take the time to apply htv to every zipper hoodie in my collection–I have a lot of zip-up hoodies.
But, for that one or two times that you want something really cool to wear, this is the easiest way to personalize a hoodie and make that text go all the way across the zipper, so you get a cohesive design from left chest to right, with no breaks!
Seriously, this makes for a really cool gift idea or a fun gift-to-oneself. But the honest truth is that it’s a great idea all the way around because in the winter, you’re not wearing your cool customized t-shirts you’re wearing a hoodie.
So, why not have a customized hoodie on top of all that?!
Just makes sense to me. Ha!
And, let’s be honest. The biggest concern I had with this project was “what do you do with the zippers?” Like, this isn’t some flat project like mousepads or even a plain t-shirt.
You can’t just lay out transfer paper and bam! And you’re done. No…it’s a little more complex than that.

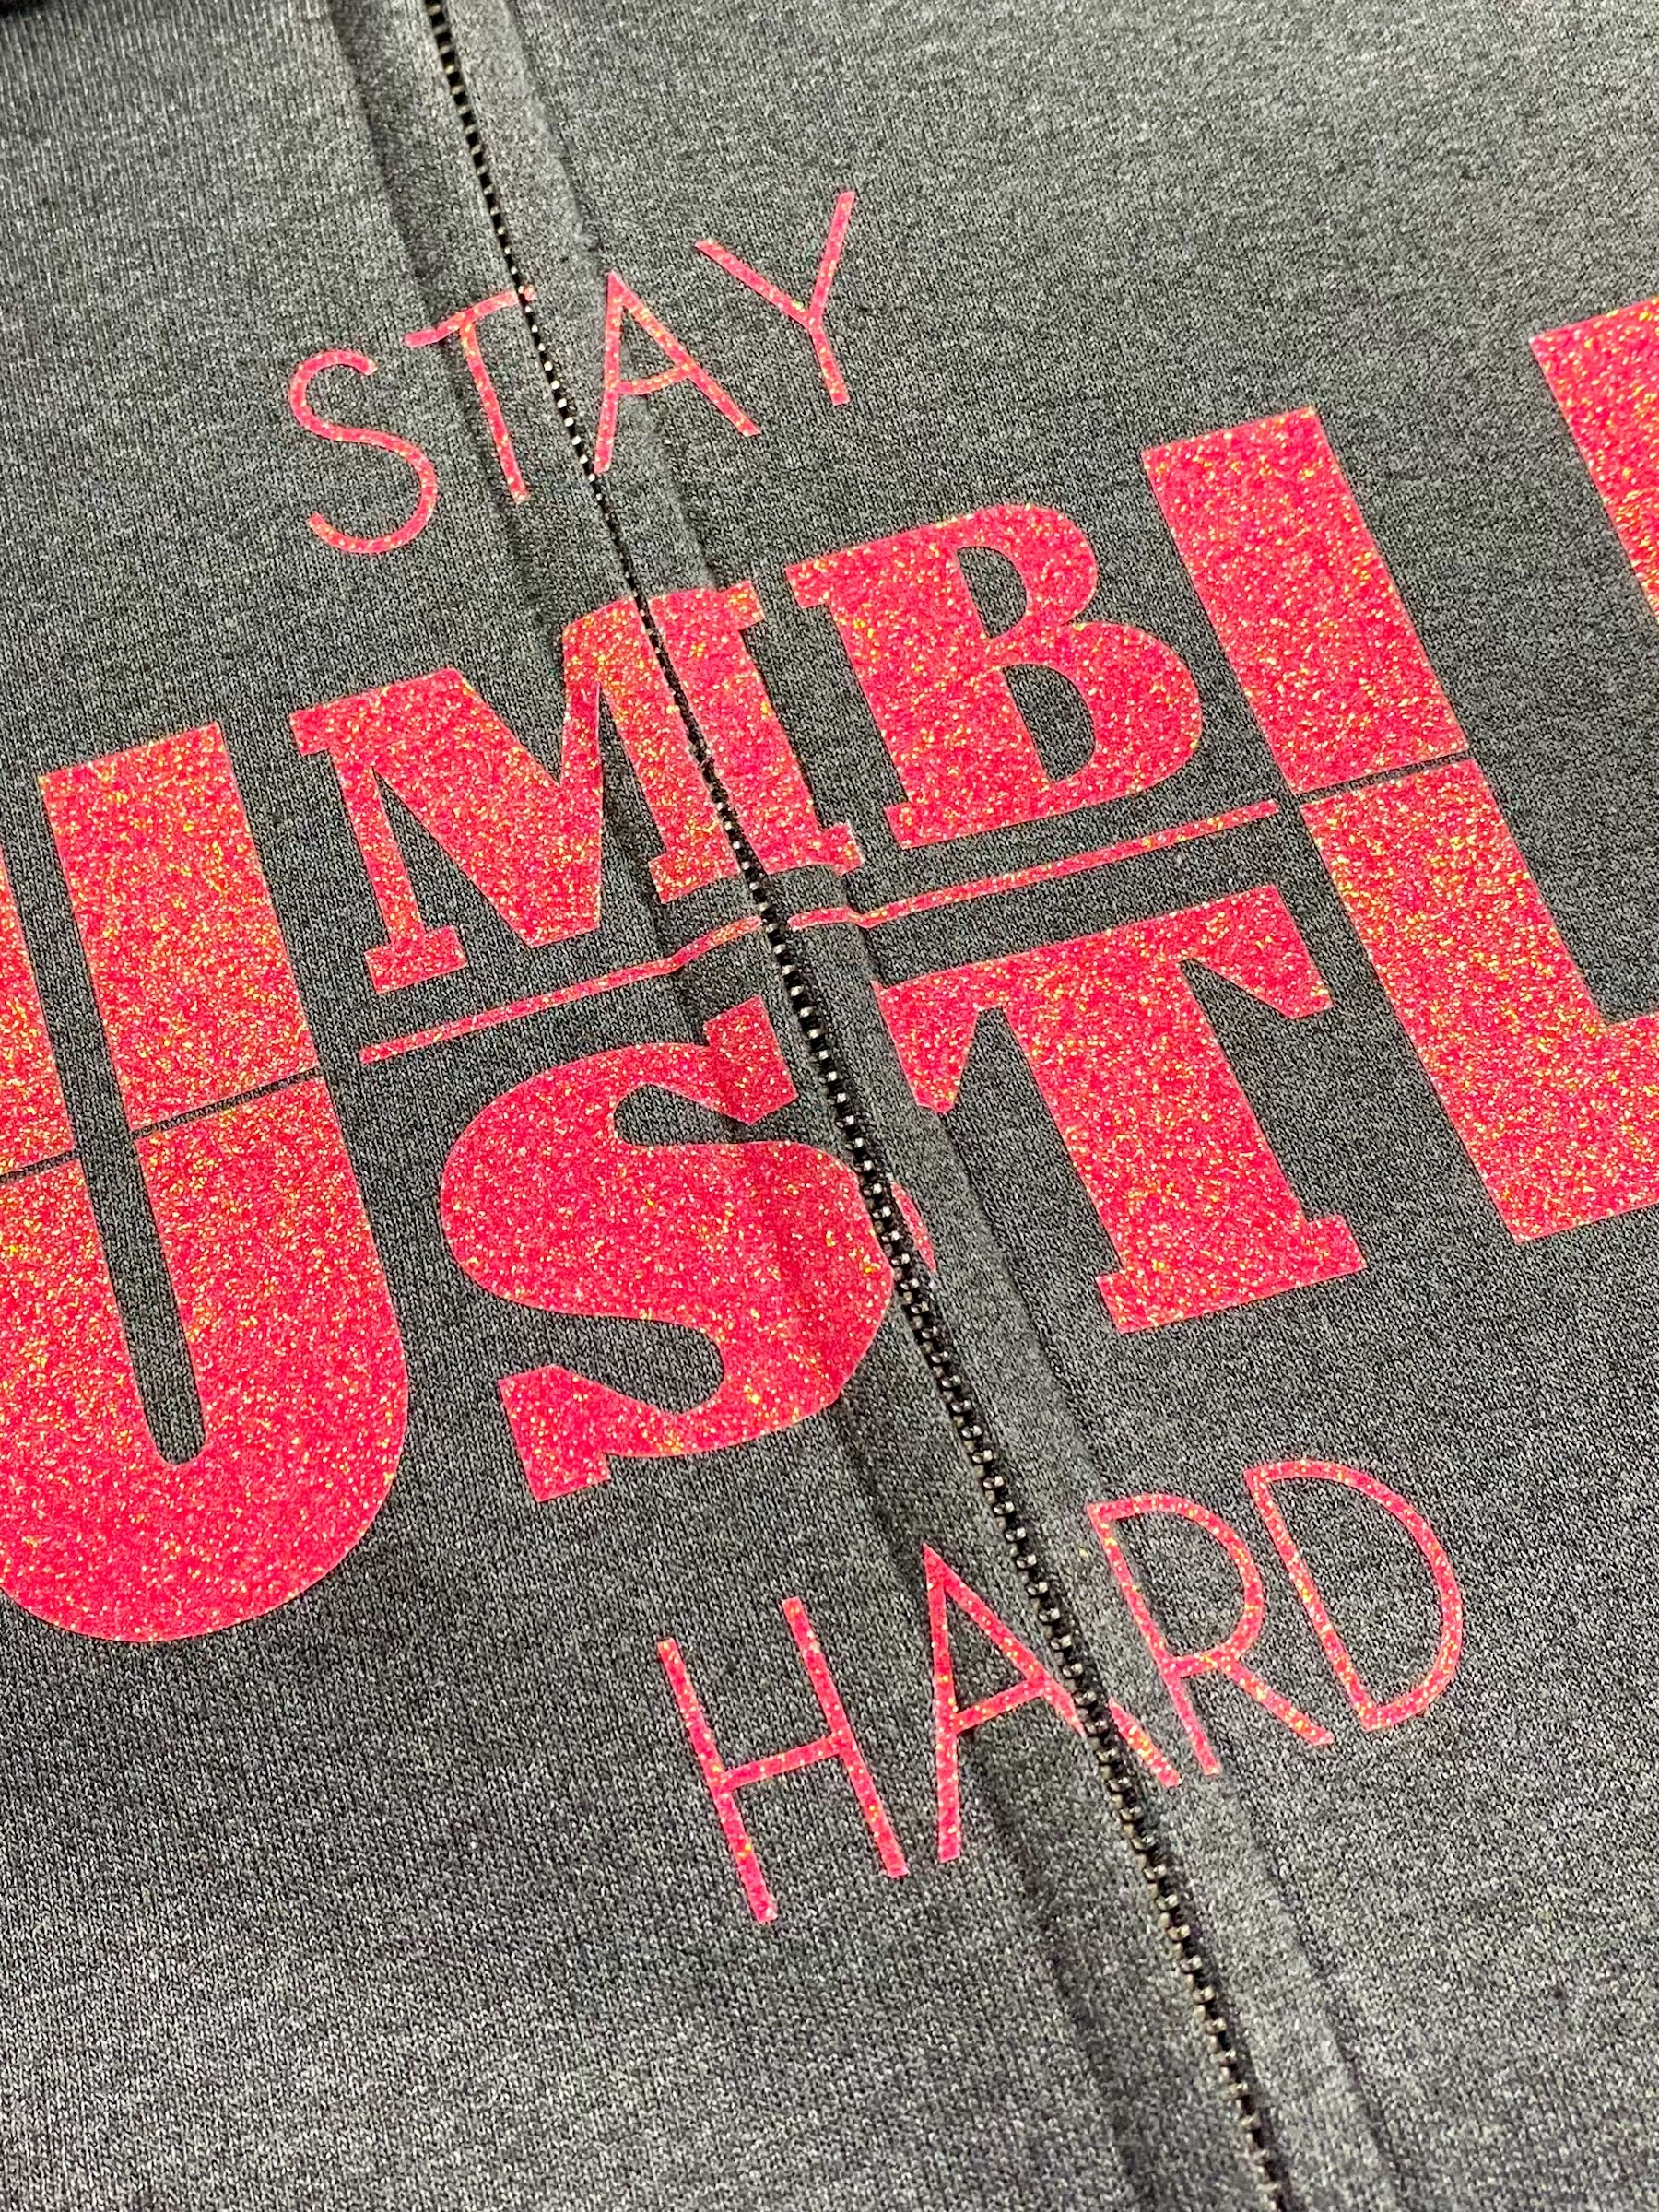
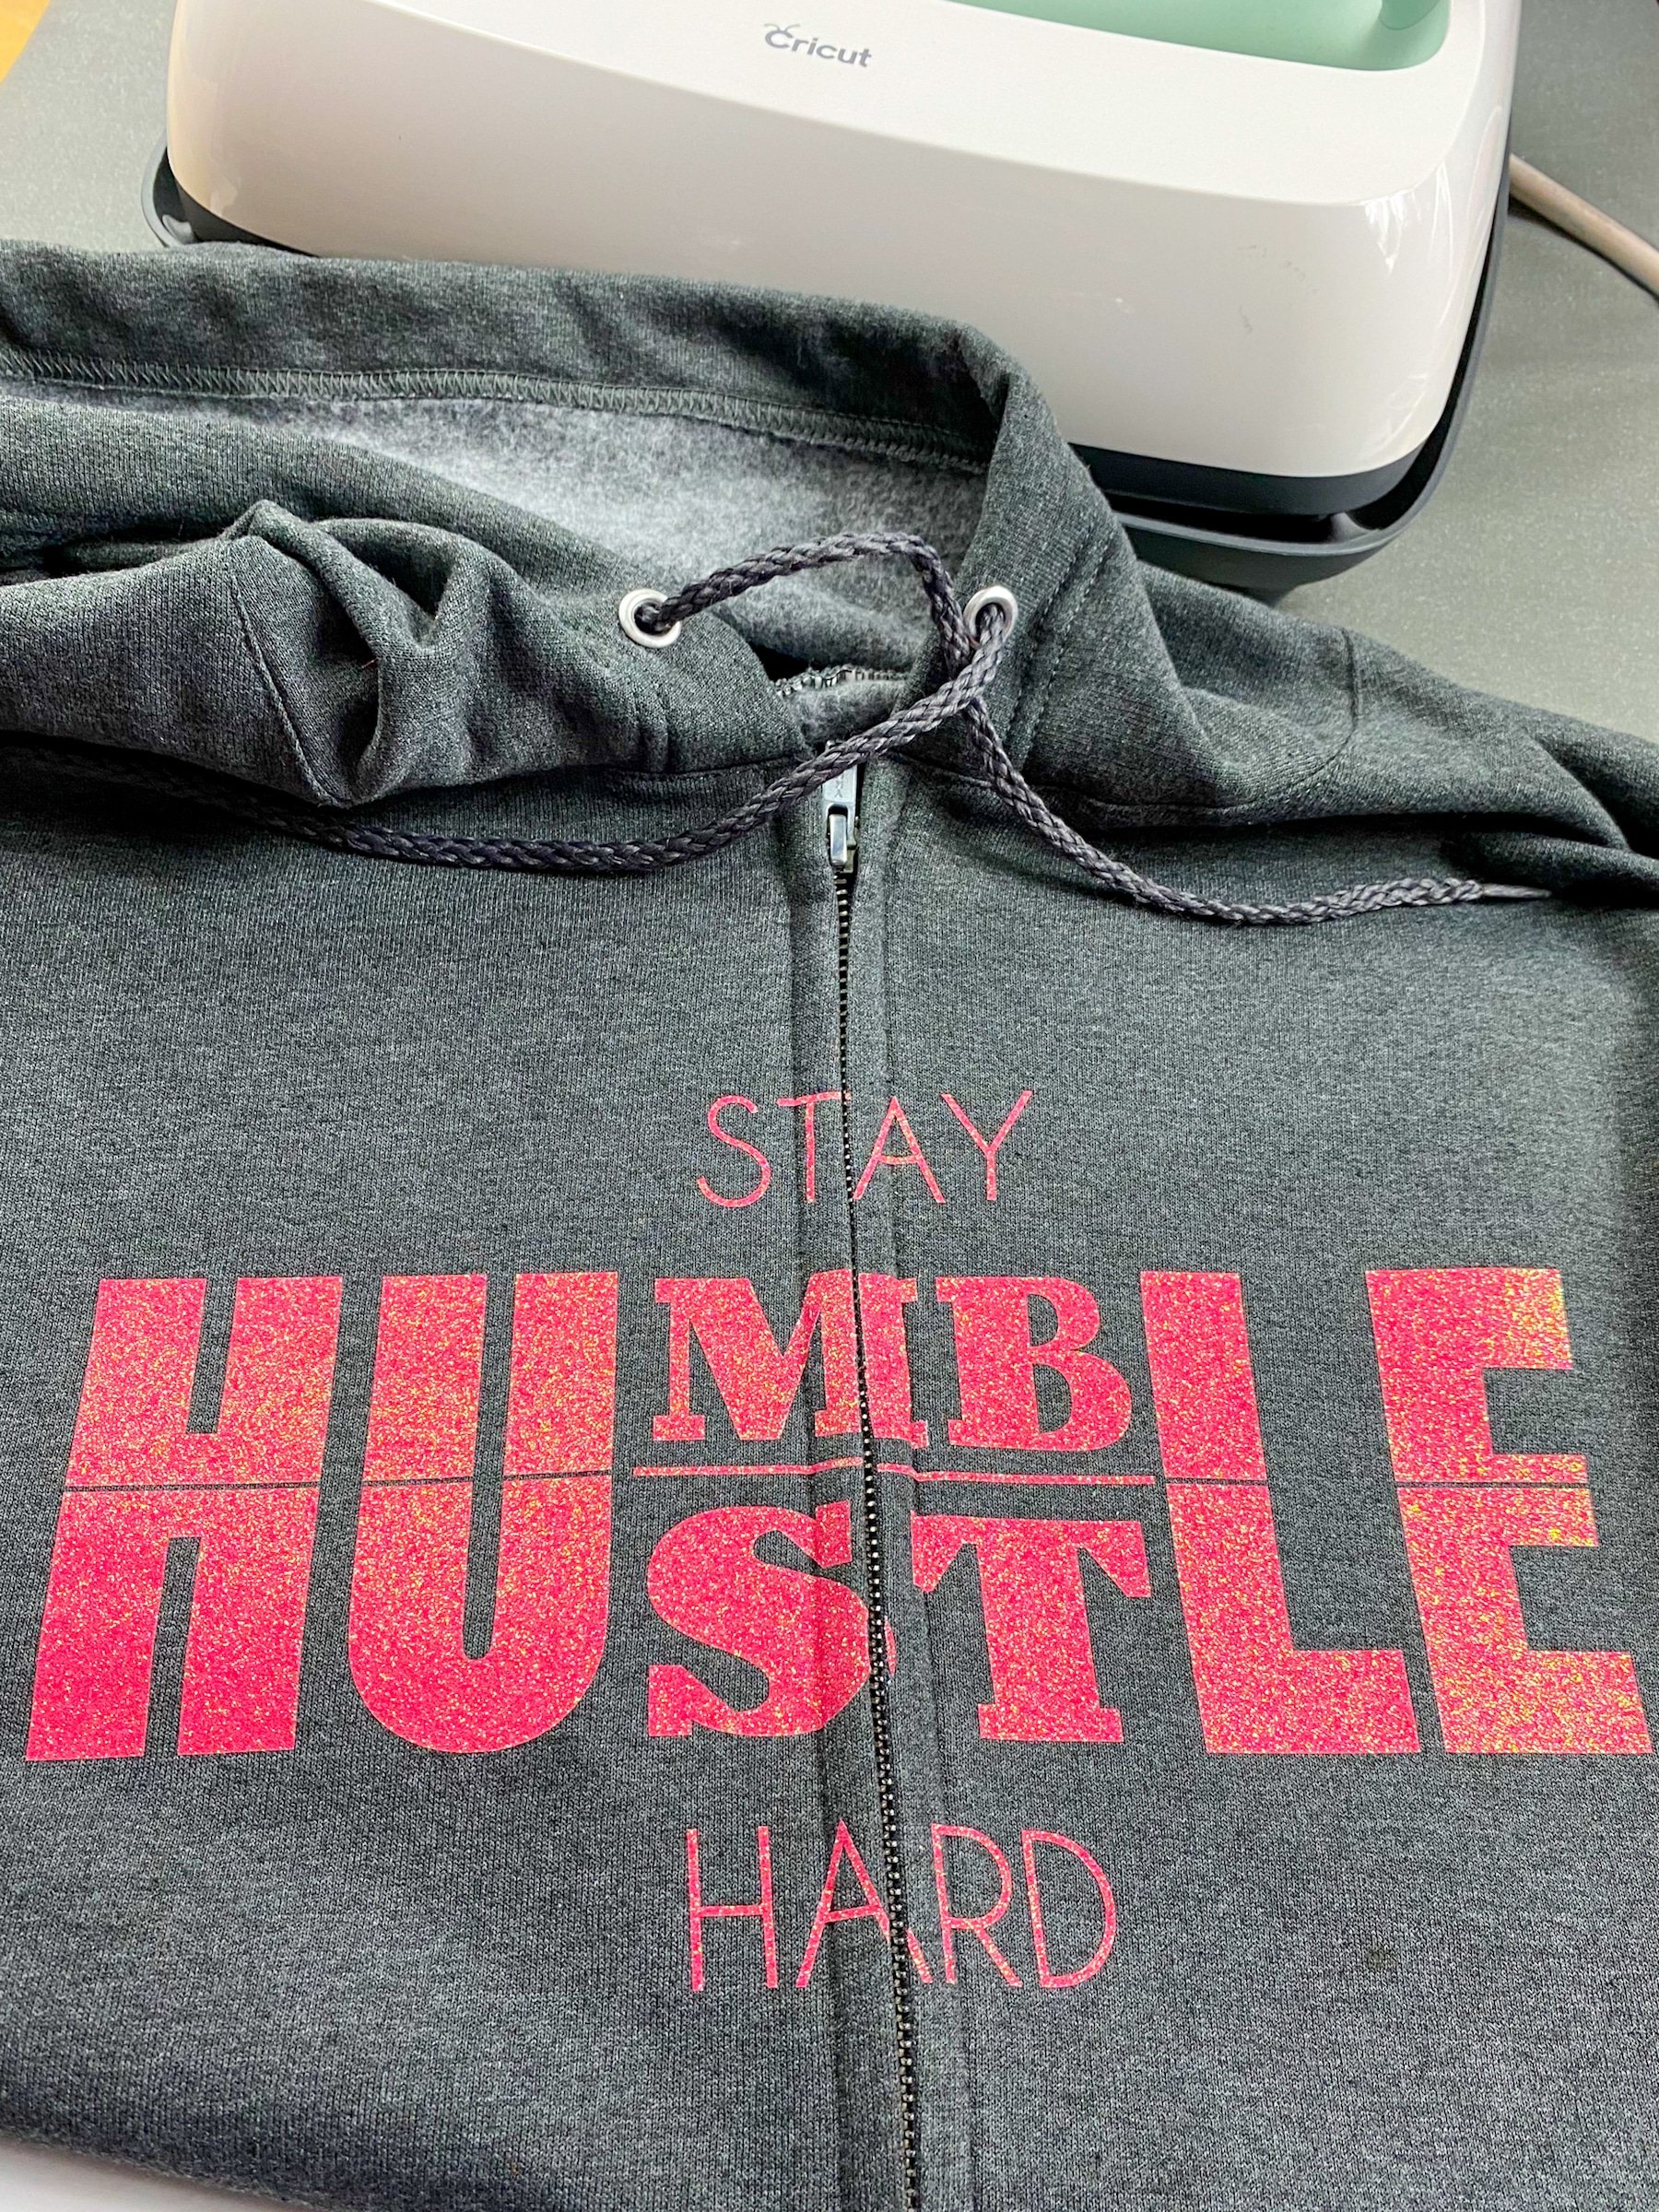
So, I thought, and I practiced and, after a few close calls, I think I have this figured out. I love the way this Stay Humble, Hustle Hard hoodie turned out.
A little bit like magic.

What do I need to Apply HTV To A Zipper Hoodie?
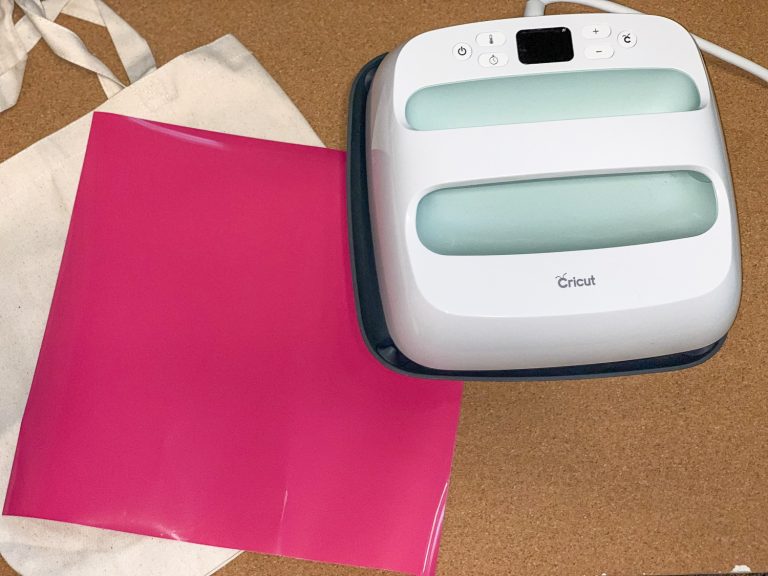
For this project here is what you need:
- Weeding pen
- Your Choice Heat Transfer Vinyl
- Hanes ComfortBlend EcoSmart Full-Zip Hoodie
- (make sure that the fabric covers the zipper)
- Cricut EasyPress 2 Heat Press
- Cricut Explore 2 or other Cricut Machine
- TrueControl Knife
- Tsquare
GRAB THE THE DESIGN

How To Apply HTV To A Zipper Hoodie
The hard part about applying htv to a zipper hoodie is the zipper! Check out my little hack and apply heat transfer vinyl to any zippered hoodie like a pro!
Materials
- Weeding pen
- Your Choice Heat Transfer Vinyl
- Hanes ComfortBlend EcoSmart Full-Zip Hoodie
- (make sure that the fabric covers the zipper)
Instructions
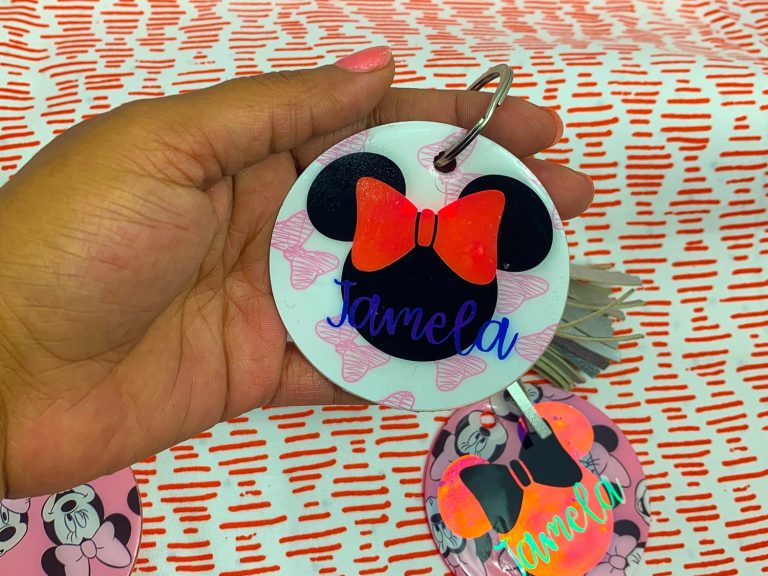
- Create a design or purchase this one and more at the Jamela by Pink Shop.
- Adjust to the size you need.
- Heat the Cricut EasyPress to 330 and set the timer for 30 seconds.
- Place the vinyl on your sticky mat, transfer side down.
- Load into your machine. Make sure the settings match up with the type of vinyl you want to use.
- And Cut.
- Using your EasyPress make sure the fabric over the zipper is down and press just long enough to remove any lines or wrinkles.
- Unload the cutting machine.
- Fold vinyl down the middle to find the center.
- Place the center of the design directly where the 2 sides of fabric meet on the hoodie.
- Press at 330 for 30 seconds.
- Use your fingernail to press the vinyl into the seems (see video below)
- Use the precision cutting tool to carefully cut the vinyl creating 2 sides.
- Remove the transfer backing and press again, covered with Teflon or butcher paper another 15 seconds.
Recommended Products
This post and some photos may contain Amazon and other affiliate links, I will be compensated if you make a purchase after clicking on my links.


Thank you for sharing this great informative tutorial I love it
@Louise McClain, where is thevideo?