


I am all about making my kids graphic t-shirts instead of buying them. I do this because I can send them back to school in the most unique gear that no one would have.
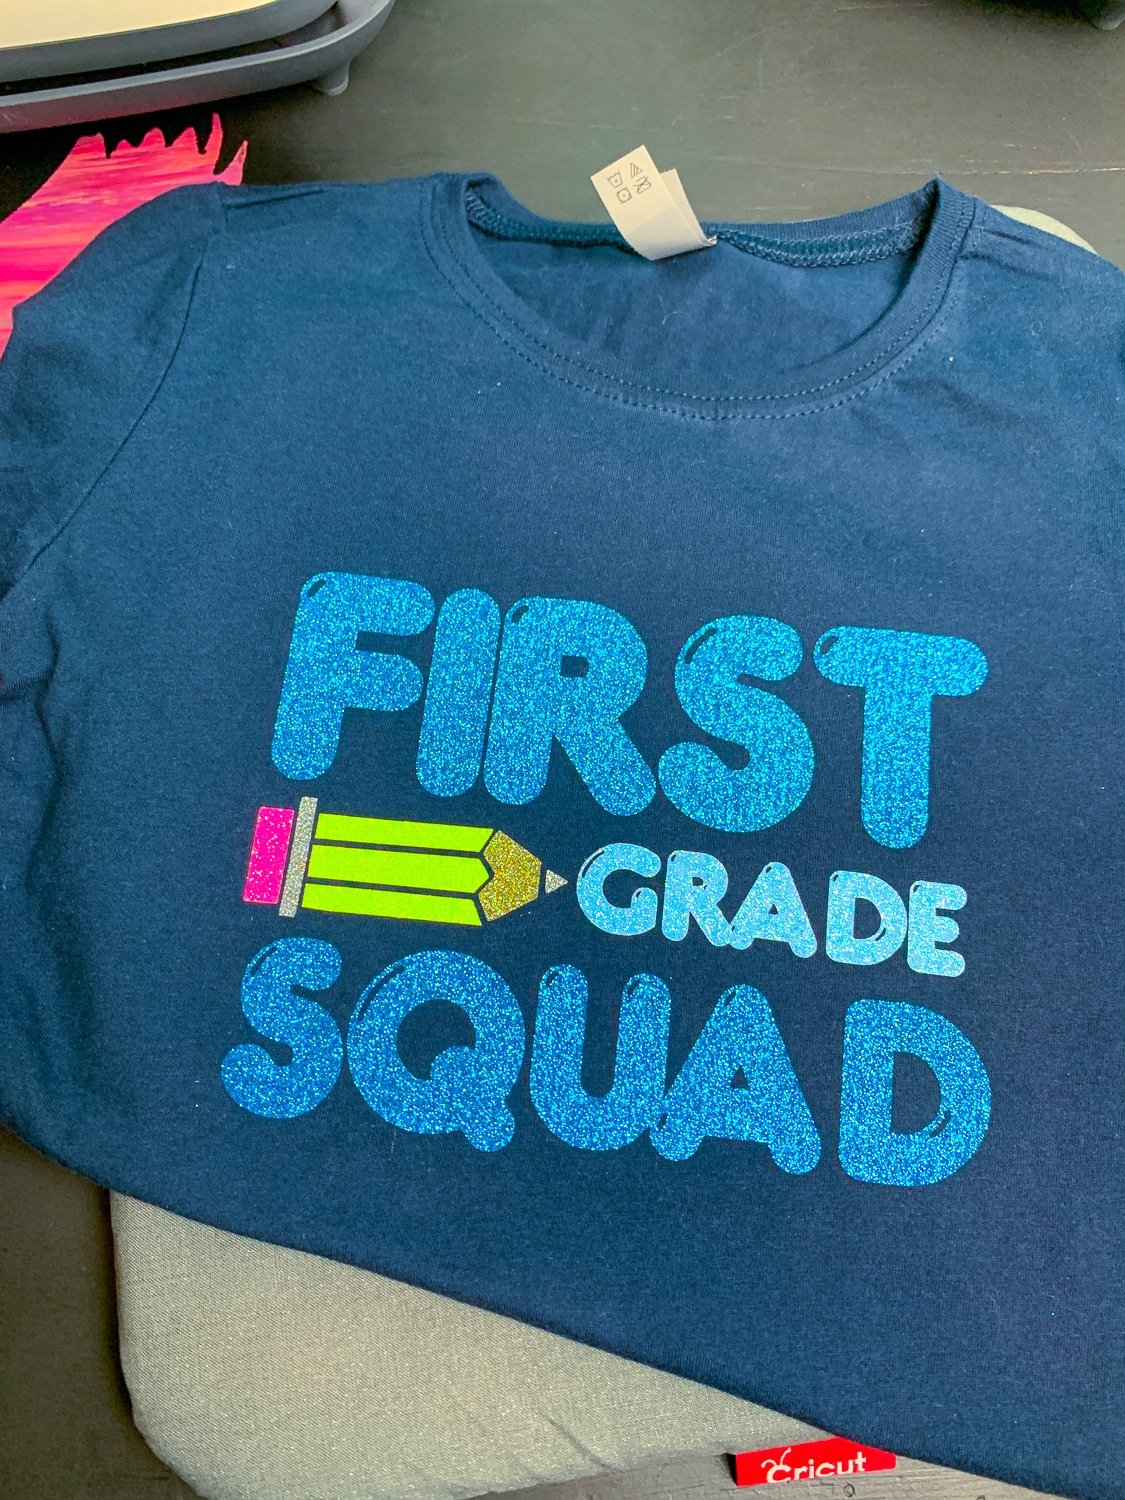
The first day of first grade is a major milestone, why not commemorate it with this super cute first grade squad shirt. This isn’t an svg file per se, I have actually done all the work for you in Cricut design space.
Cricut Back To School First Grade Squad Shirt + Free Cut File
All you have to do is go in there and resize for your shirt, load your cutting mat and cut using your Cricut Maker, Cricut Explore or Explore Air. This design will not work if you have the Silhouette Cameo, sorry this one is specifically for Cricut cutting machine users.

Heres a great idea, you could add the school year and do a new one each year, and place it into storage after the first day. Then take all those shirts and have it made into a blanket for them.
Give it to them as a graduation gift and they can use it as a college student.
Back To School
This back to school design was created entirely in Design Space, and it uses only the Cricut Access design elements. With over 90,000 images, you can design your perfect shirt with no experience in design at all.
If you are looking for a way to make back to school special and you own a Cricut or are thinking about getting one, then you have landed in the right place.
- Welding
- Aligning
- Changing color
- Resizing
- Using Text
- Finding Fonts
- Grouping and Ungrouping
- Right down to cutting and using your scraps with multiple colors on 1 mat
This is a great beginner project for first time Cricut Design Space users. I if you make this shirt, I would love to see them, you can share in my group Create with by Pink.

First Grade Squad Shirt + Free Cut File
Materials
Tools
- Cricut Machine
- Standard Grip Mat
- Cricut Weeding Tool
- Easy Press 2
Instructions
- Resize the design to fit your shirt
- Adjust the colors to match what you have
- Select your machine
- Click make it
- Mirror the image
- Click continue
- Select your materials
- Place the iron on vinyl on your mat
- Load the mat into the machine
- Press cut
- Repeat steps 7-10 for all colors
- Preheat your EasyPress to 330
- Weed all of your vinyl
- Press 1 color at a time for 40 seconds for each color, (for small pieces like the pencil, I like to piece them all together on the transfer sheet, but this only really works for glitter)
- Put it on the little one and squeal at how super cute it is!

Hello Jamela I love all you idea and thank you for share your designs