The Cricut Joy Smart Iron-On is the best way to design a shirt! With so many different options and possibilities, you will create a unique shirt that no one else will have!
This craft is simple and the directions are easy to follow. Making a shirt with the Cricut Joy Smart Iron-On will change the way you start to do things.
Since you have to many options in the design space as well as the choice to purchase one of my templates, the shirt you will make will be special and unique to you.
A shirt made with the Cricut Joy Smart Iron-On will make for a perfect gift for friends and family. You can customize it by using their favorite colors, printing their name, and so much more!

Nothing about this design will make someone think “store bought”. Your shirt will be stand out which is always the best thing about making your own crafts.
The Cricut Joy Smart Iron-On will make designing a shirt and transferring the idea form your head to reality a lot easier than in the past. Nothing has ever been so simple and yet so creative at the same time!
Making A Shirt With The Cricut Joy Smart Iron-On
The Cricut Joy Smart Iron-On simplifies the T-shirt making process by a land slide. You will want to throw out all of the shirts in your closet after you’ve made your own clothes with the Iron On.
After designing what you would like to put on the shirt, you are going to start using the Smart Iron-On. When loading the Smart Iron-On into your Cricut machine, make sure you put the shiny side down.
One of the main differences between the Smart Iron-On and regular iron-on is the fact that it has its own line of Smart Materials. The Smart materials for the Iron-On are thicker which allows for them to be cut without a mat.
After you finish printing your design, the steps just get easier. With the Cricut EasyPress, you can easily put your design onto your shirt. Make sure to always let the design cool before peeling off the transfer sheet.
Is Heat Transfer Vinyl The Same As Iron-On
Iron-on vinyl is the same as heat transfer vinyl. Because iron-on vinyl uses heat and pressure to adhere to the fabric and also requires an iron, heat press, or an EasyPress, it is also referred to as heat transfer vinyl.
The EasyPress is what will be used for this craft. Just as the name suggests, using this tool is very easy especially when used with the Smart Iron-On.
Show off your completed shirt to your friends and family and maybe even make matching articles of clothing as well. You can never go wrong with a matching headband or socks.
Make your family matching shirts or give some away for birthdays and holidays! Kids love rocking new clothes and it feels even better knowing no one else will be wearing it!
There are so many ways to go with this fun craft and the product can be used for a long time. Get creative and have fun!

How To Make A Shirt With The Cricut Joy Smart Iron-On
A shirt made with the Cricut Joy Smart Iron-On will make for a perfect gift for friends and family. You can customize it by using their favorite colors, printing their name, and so much more!
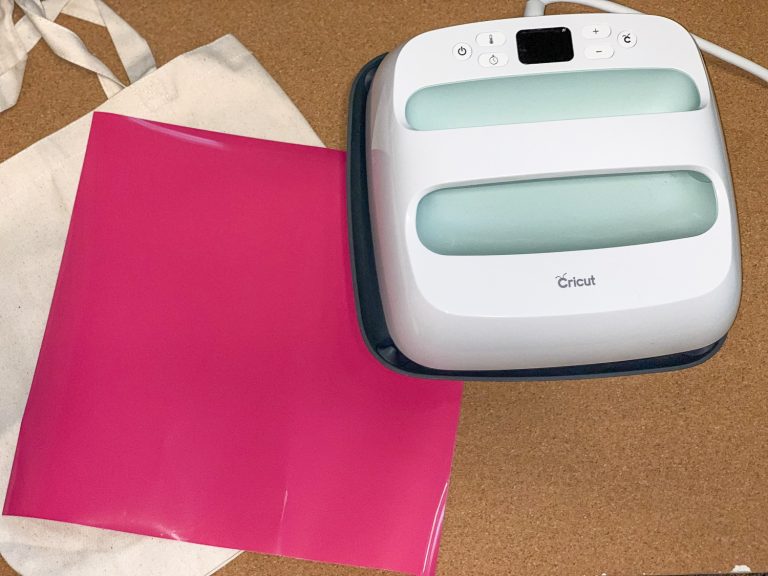
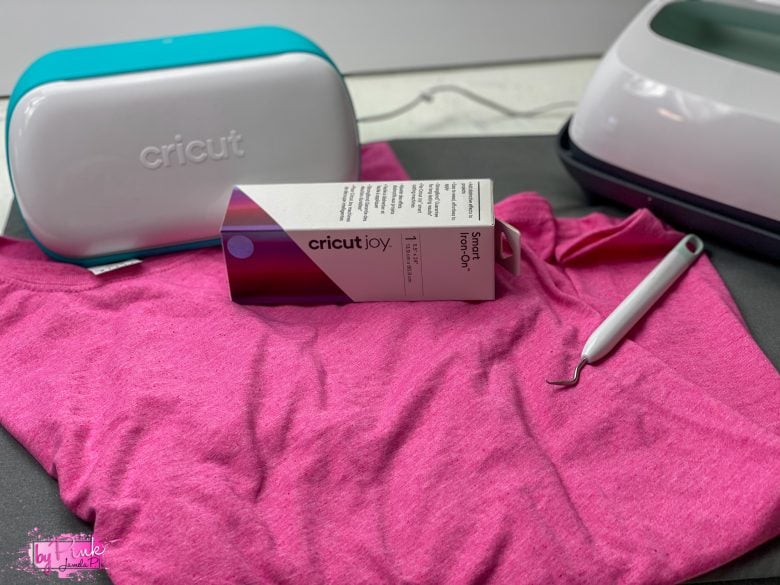
Materials
- Tshirt Blank (you can grab wholesale shirts here)
- Iron-On Vinyl
Instructions
- Create a design or you can purchase 1 of mine here.
- Load into the Cricut Joy machine with Cricut Smart Iron On.
- You will not need a mat for cutting.
- Choose the correct material for the type of iron on vinyl that you are using.
- Press Cut.
- Preheat your Easy Press press while you are waiting.
- If using heat-press heat to 320 degrees if easy press heat to 330 degrees.
- Remove the iron-on vinyl from the machine and the mat.
- Using the weeding tool, weed out the voided areas.
- Place your t-shirt blank flat onto your heat press or EasyPress mat.
- Fold the shirt in half to find the center of your shirt.
- Lay the shirt back on the mat and using your press, press a crease in the shirt.
- Open the shirt and lay flat onto the mat.
- Fold your transfer in half to find the center, note* do not fold the sticky sides together.
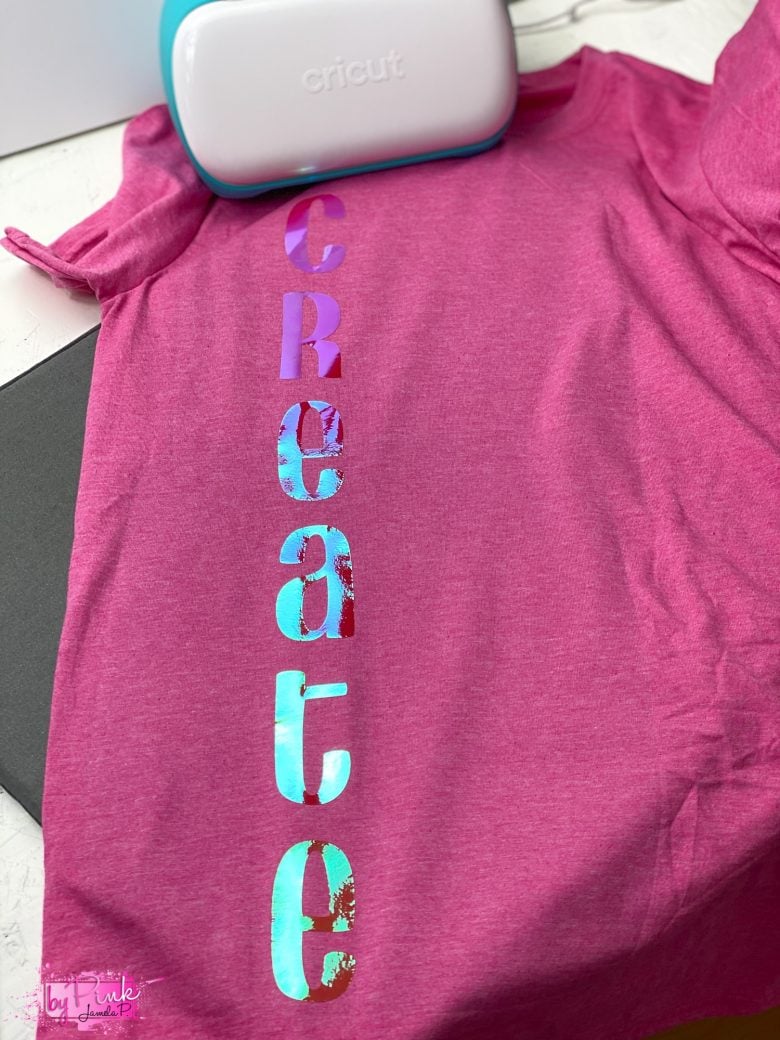
- Now place the design sticky side down.
- Using the square double check that you are 3 to 3 and a half inches from the top of the front of a collar (crew neck)
- And double-check that the sides are pretty even as far as how much shirt is left on each side.
- If you are using the heat press, press for 20 seconds for the EasyPress press 2 for 30 seconds.
- Remove the transfer sheet and allow the garment to cool.