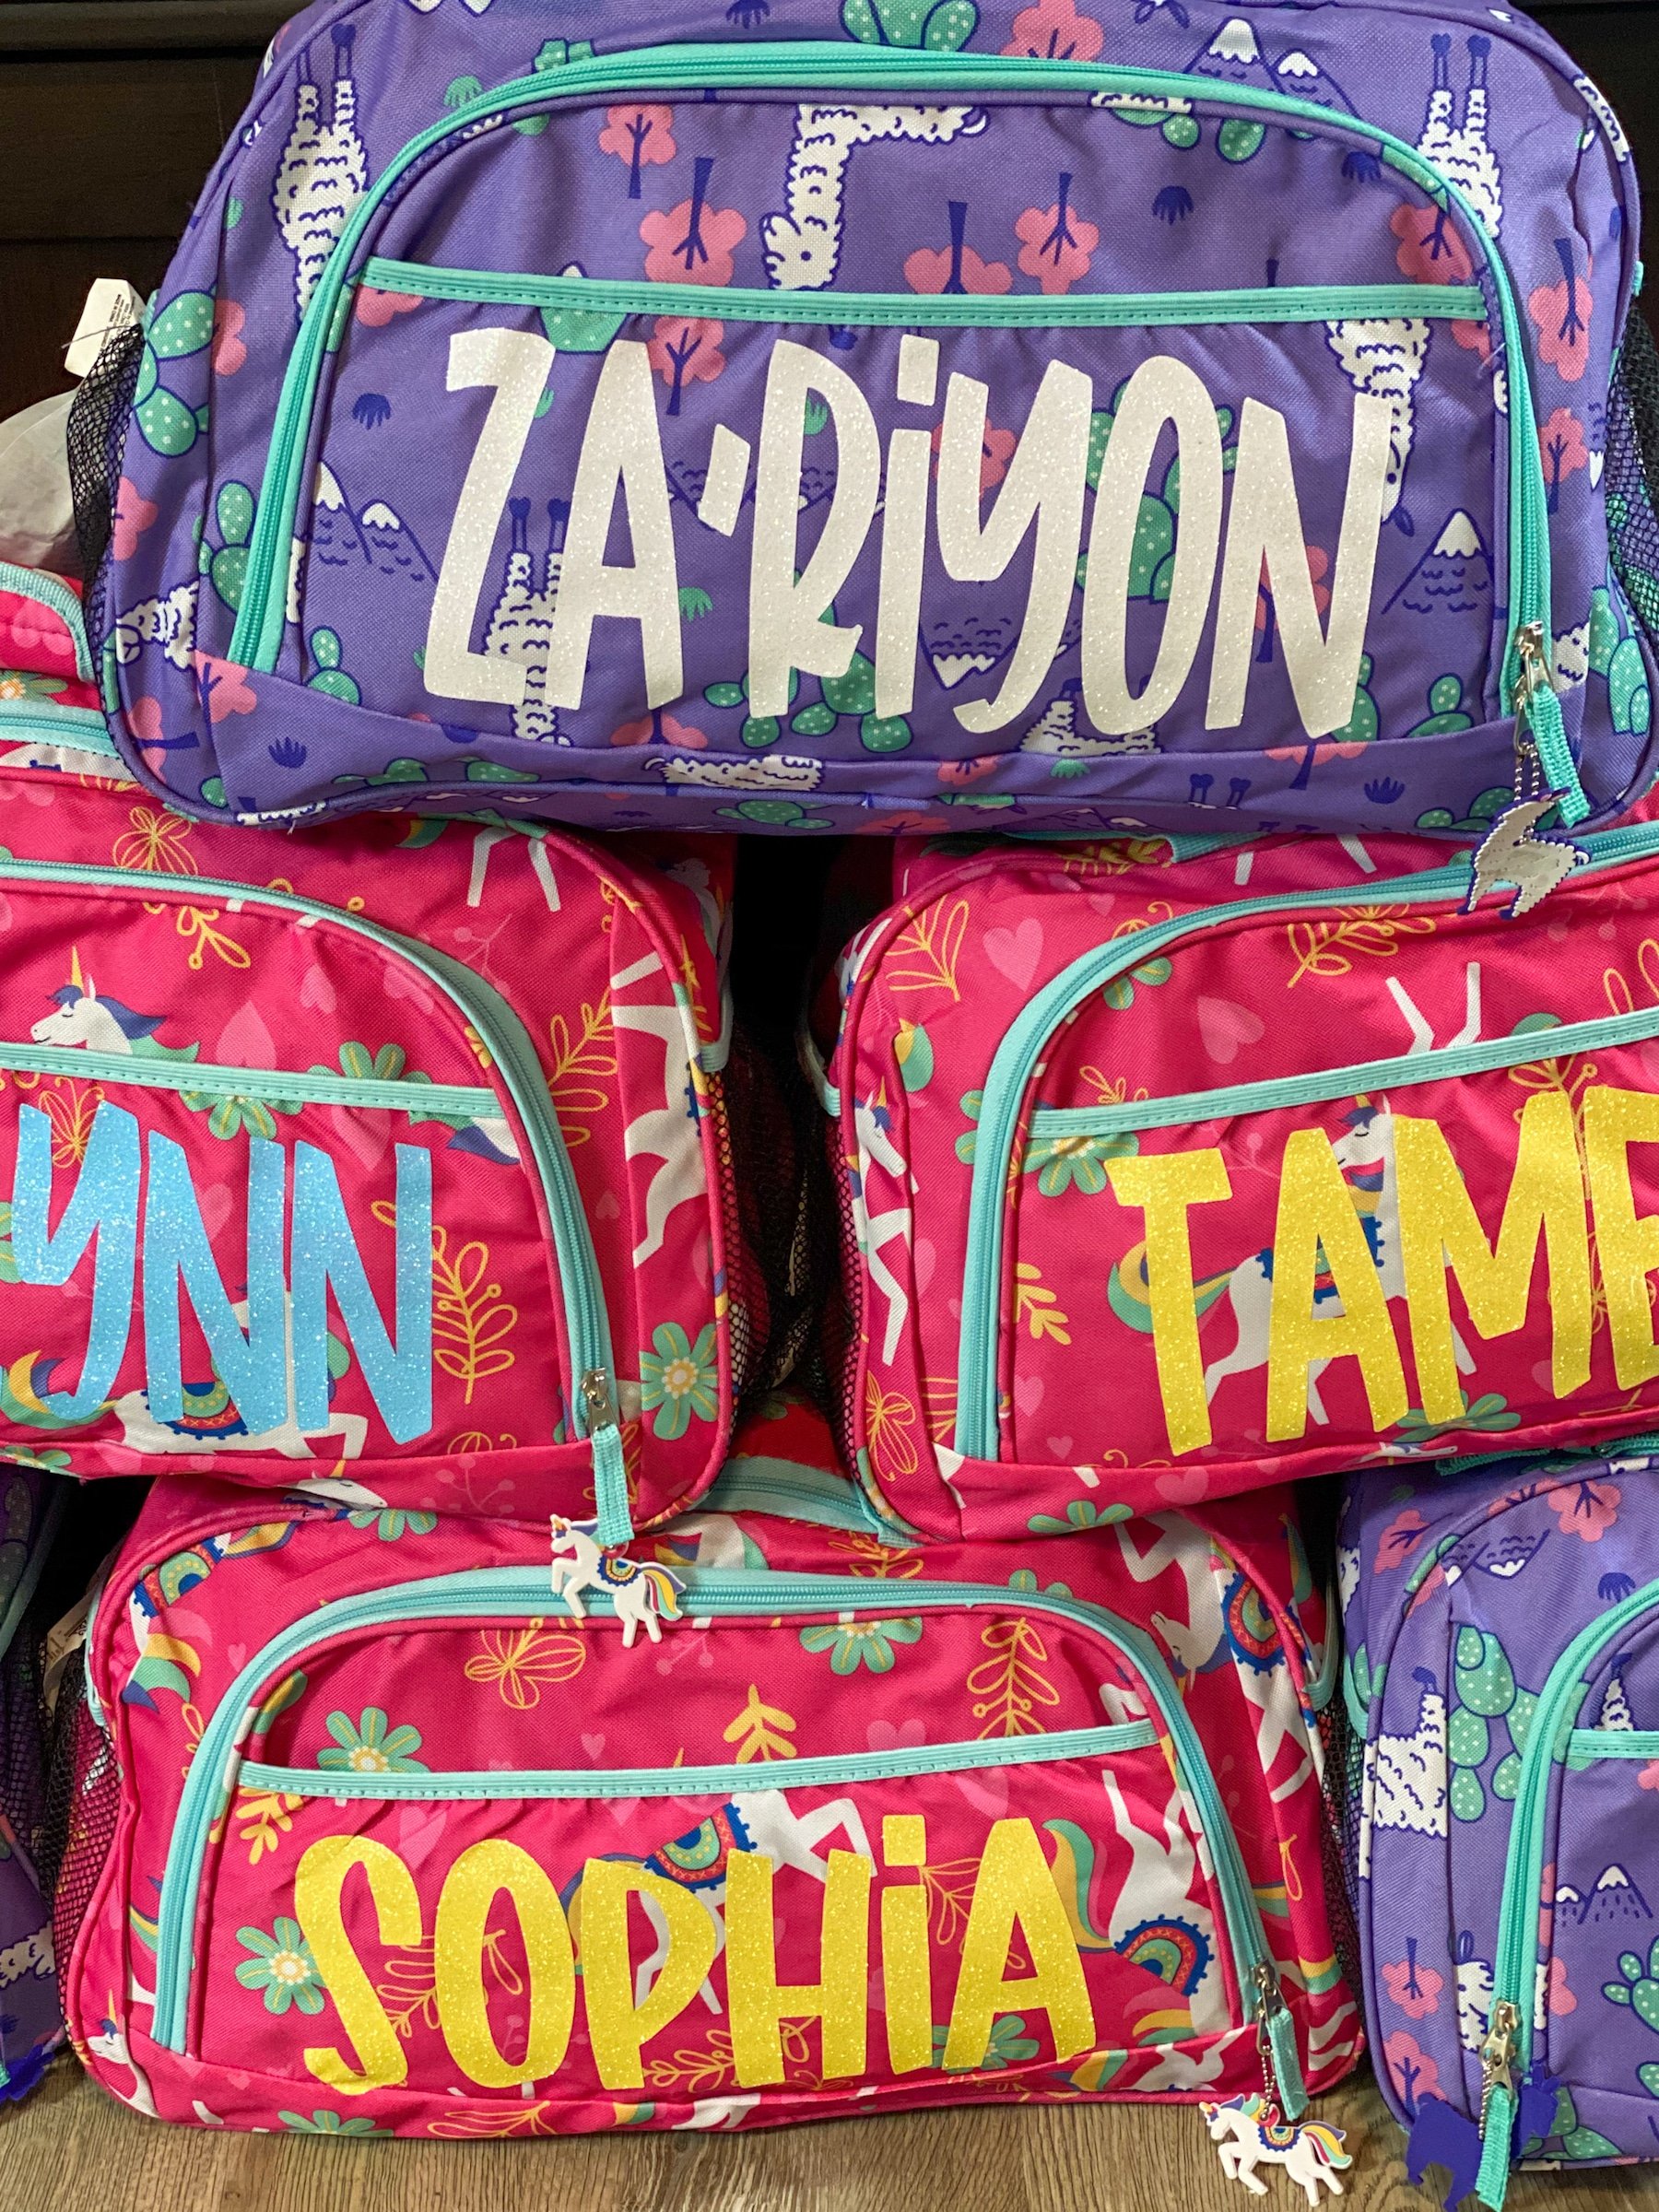
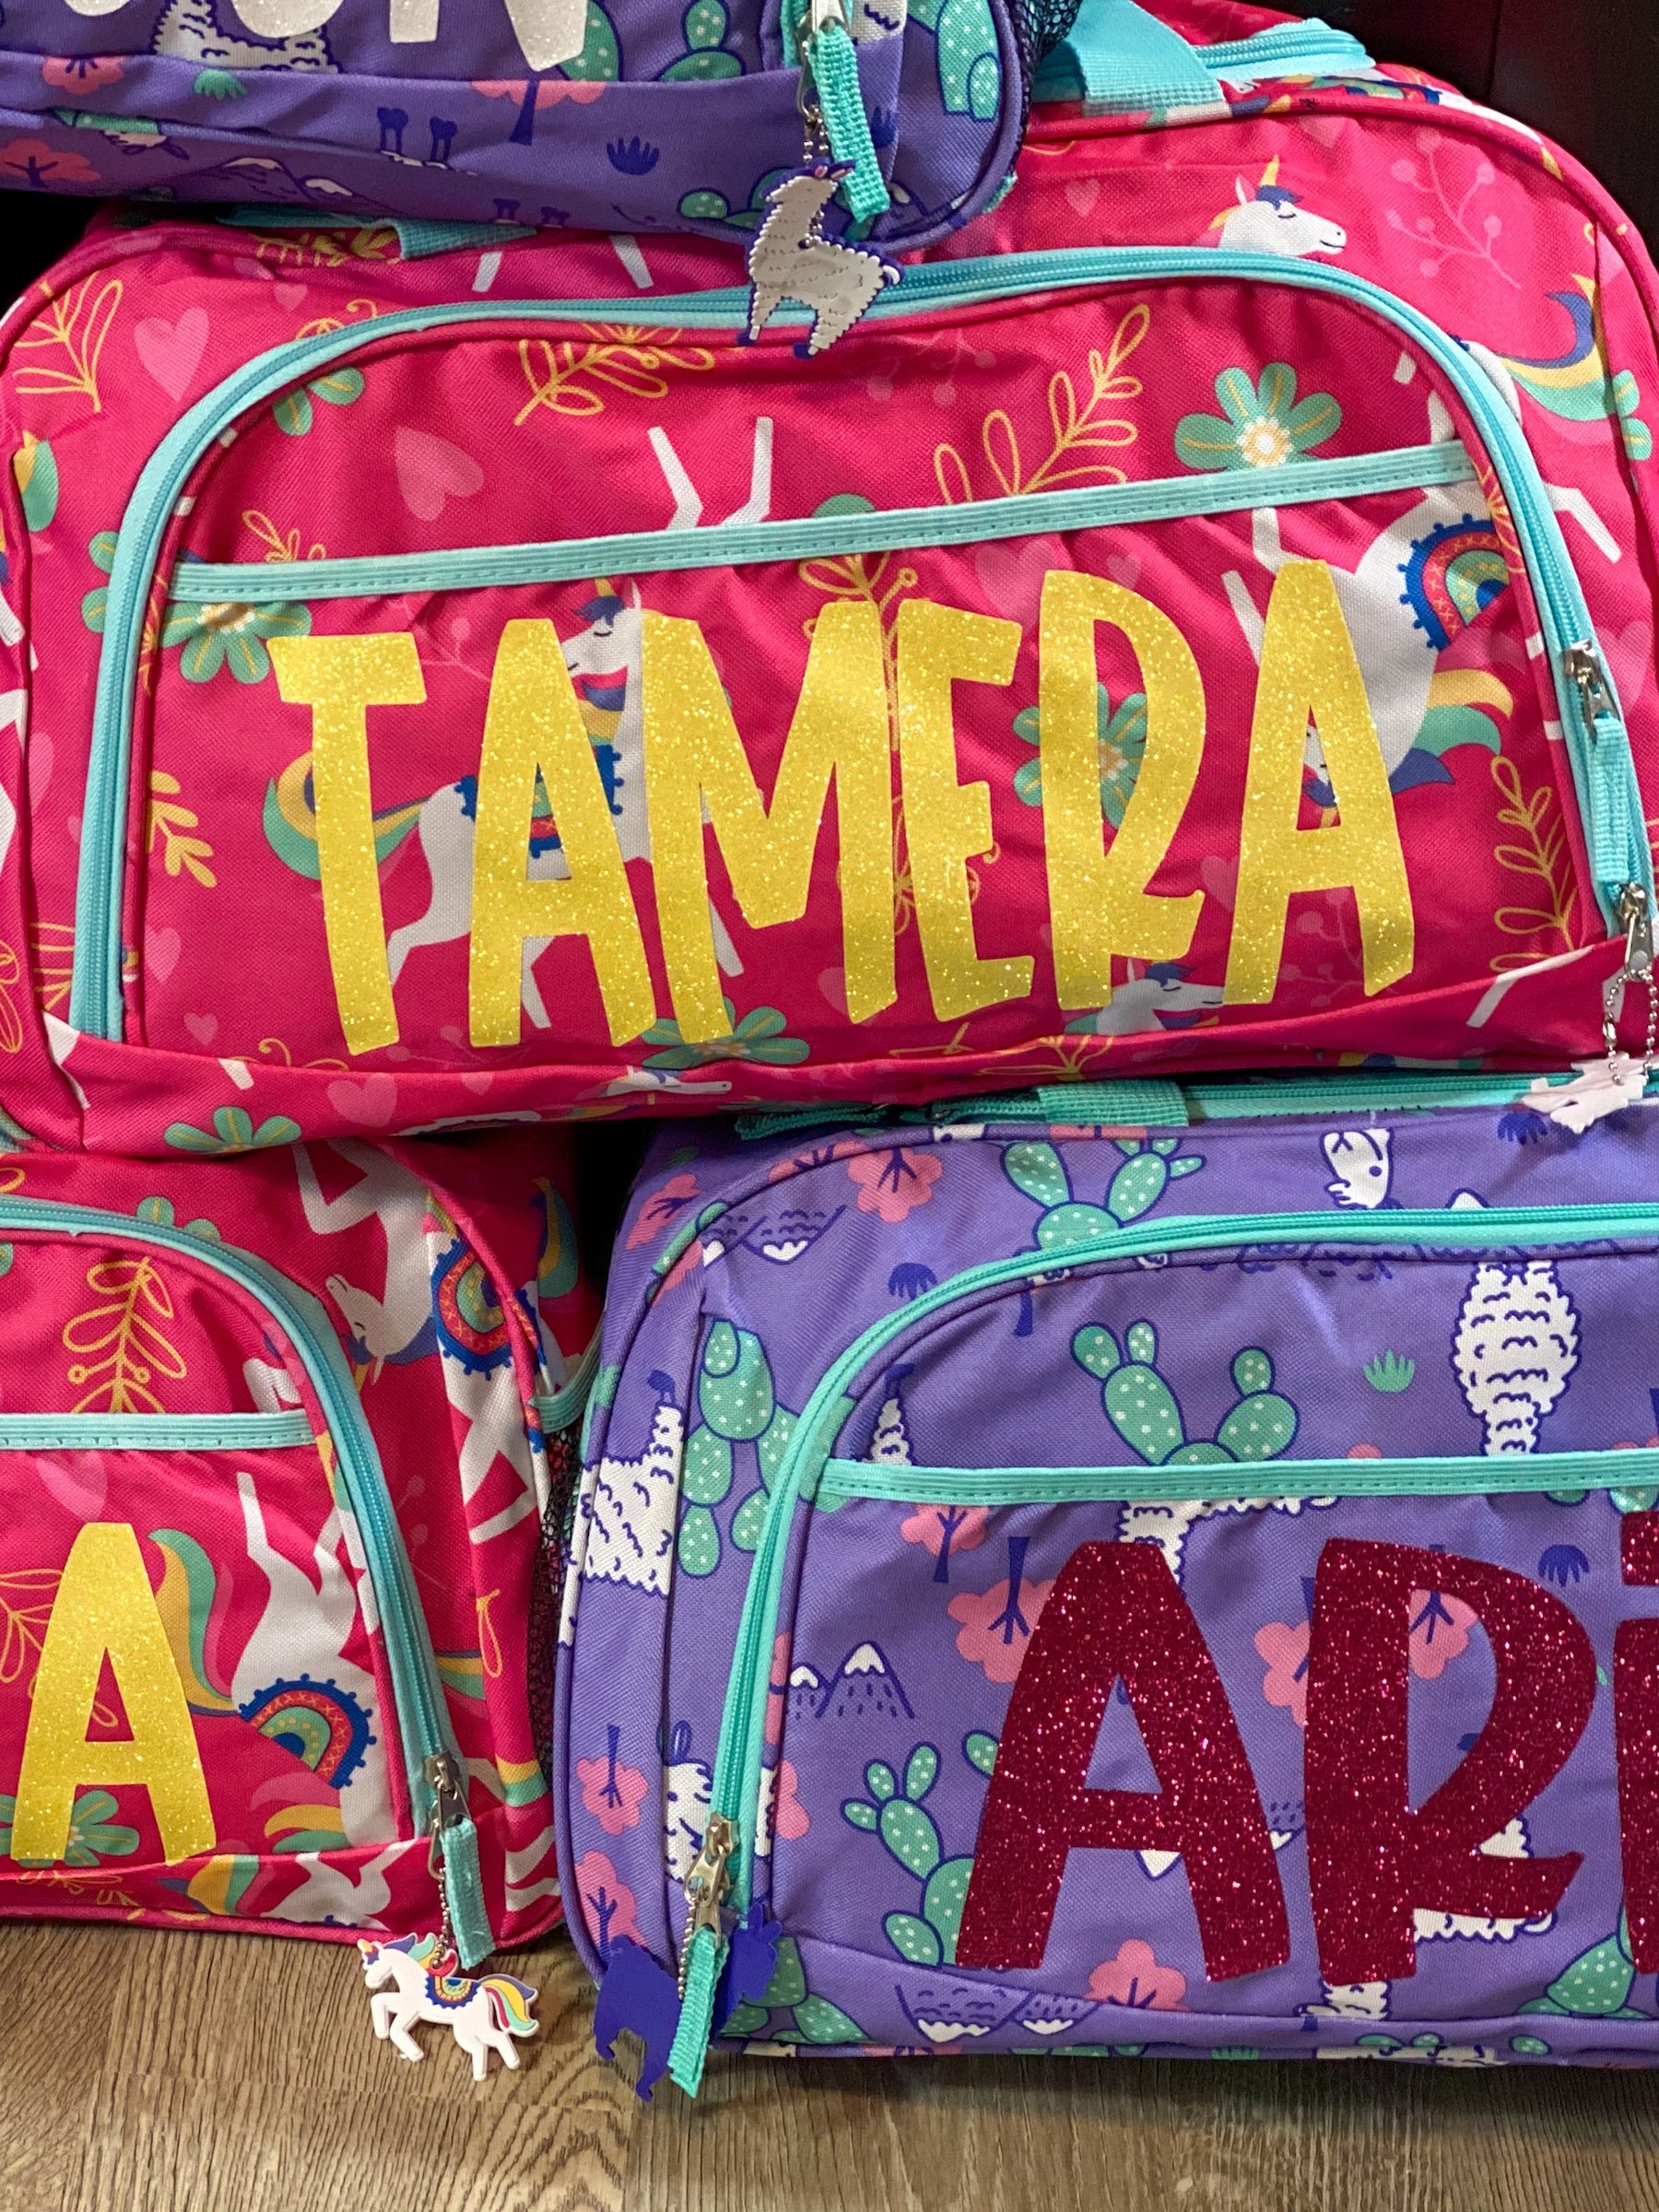
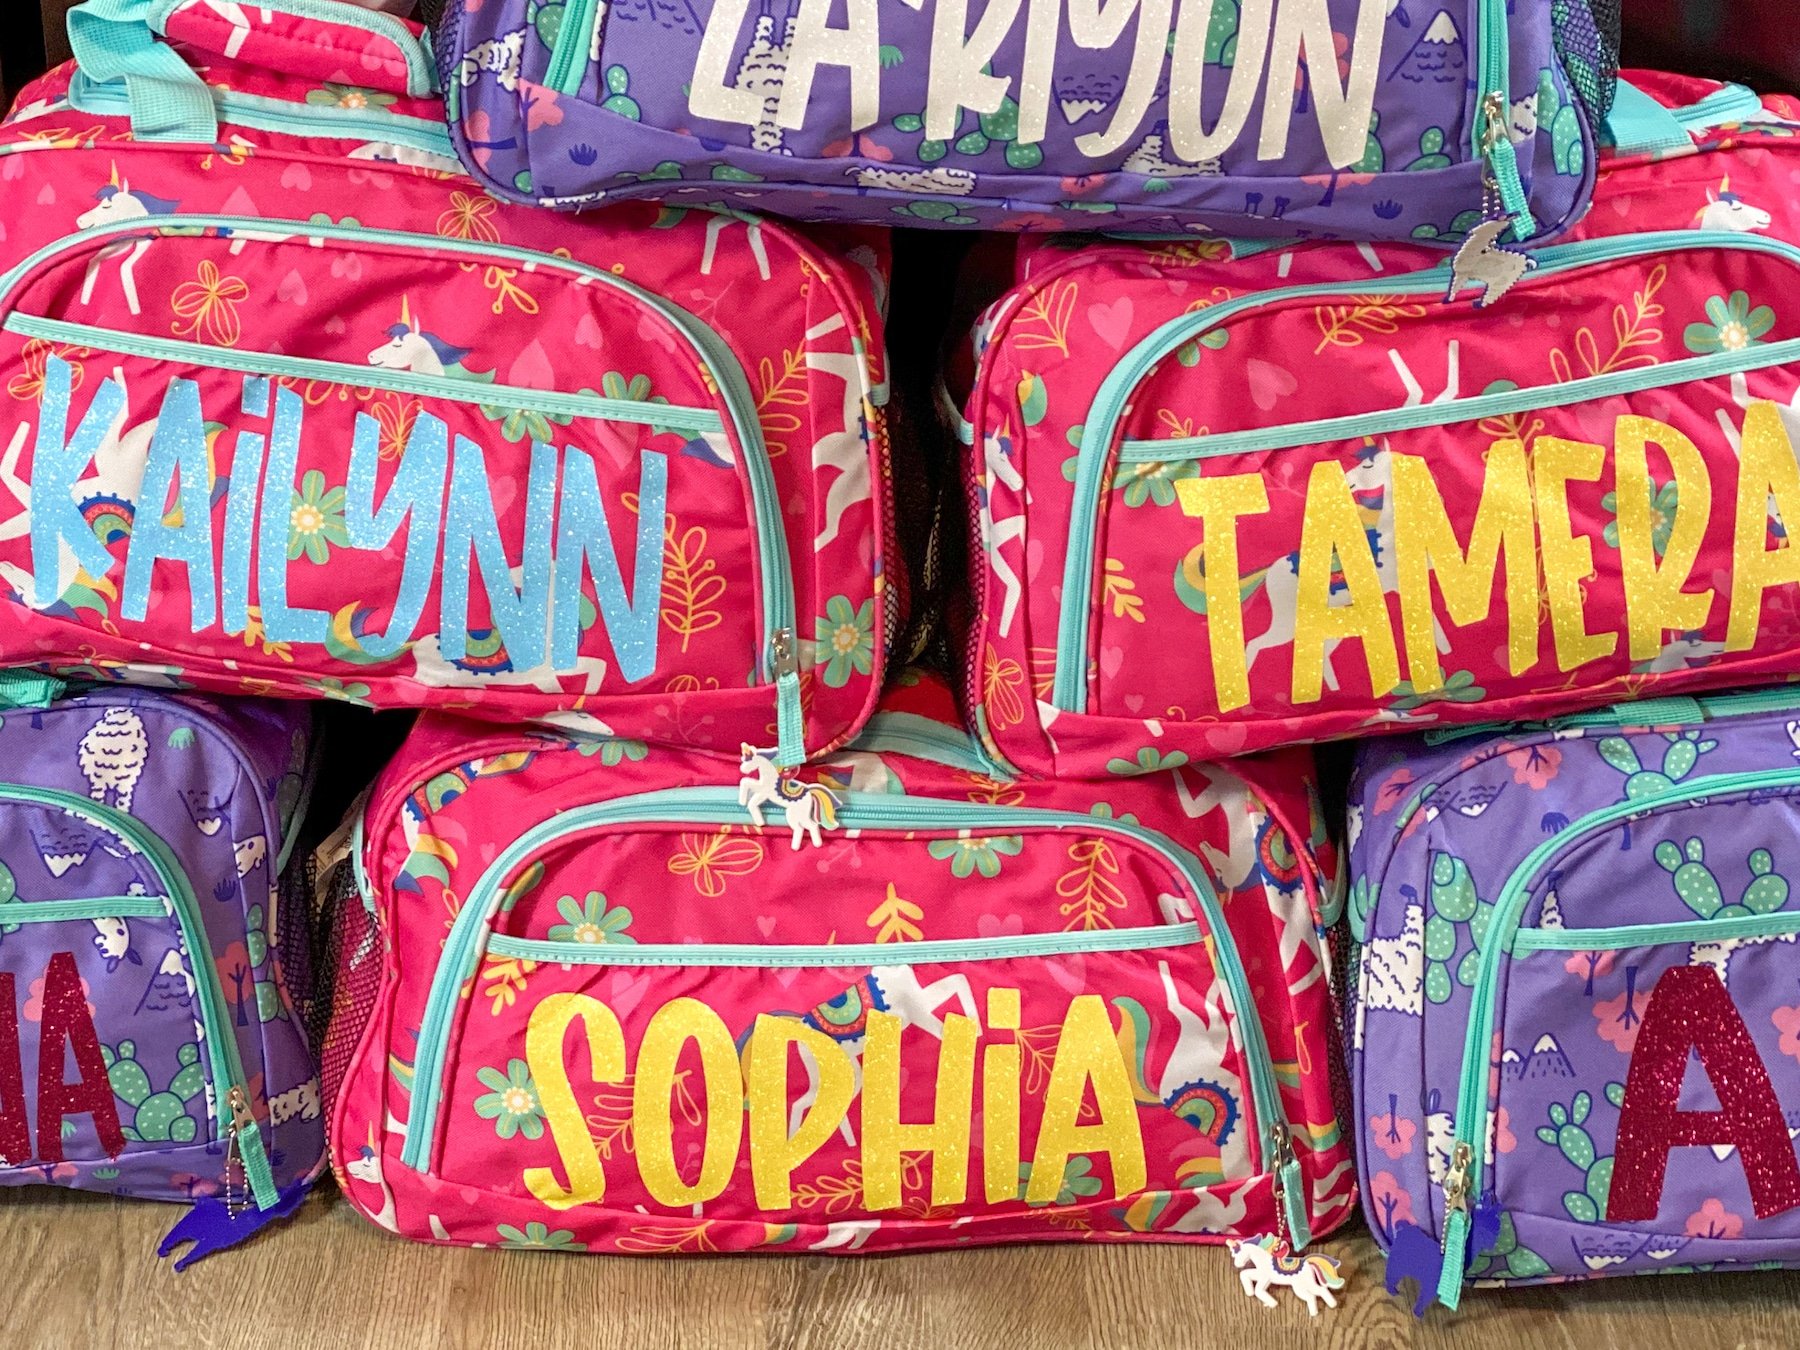
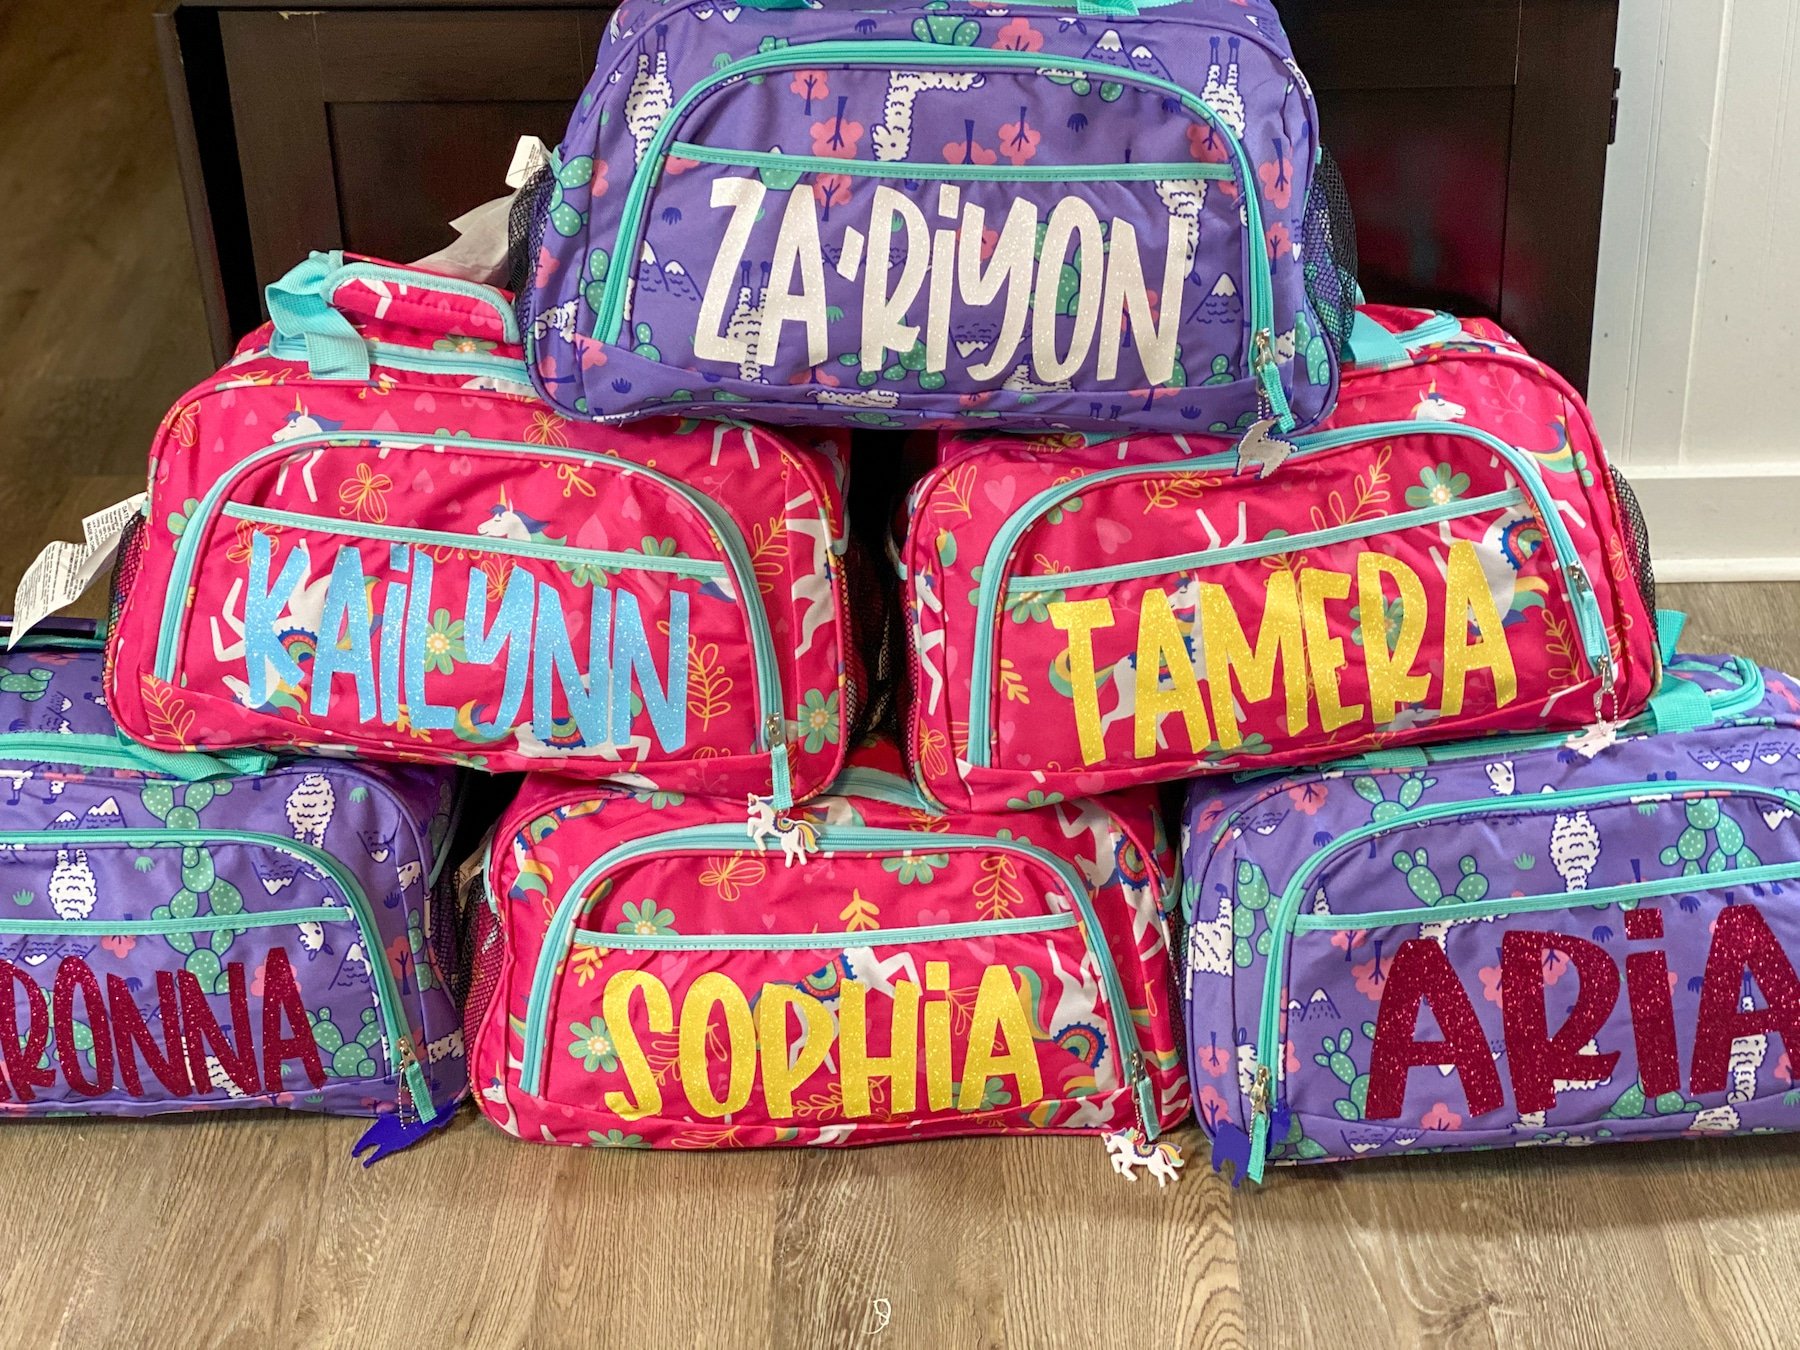
I had a little party planned and put my Cricut Easy Press Mini to work. So I thought that I'd share how to use the Cricut EasyPress Mini to customize a duffle bag.
This way you can see just how to make these awesome sleepover overnight bags!
I mean, because what little girl doesn't want an awesome bag to stash all her sleepover goodies and fun party favors and whatnot?! So much fun.
Plus these duffel bags came with a sleeping bag and a tent in them!

And, let me tell you, the girls that showed up at my house to find their name on their new overnight bags. They were so excited!
They literally drug those bags around with them the entire night. I even found one of them curled-up with it in her sleeping bag! LOL!

So, as a party favor, personalized duffle bags are hands-down on the top of my list for great ideas. And using the Cricut EasyPress Mini made it SO EASY.
I kid you not, I had a friend that was like "I'll just use an iron". While, yeah, that'll be fine for some projects (not really, don't try it), I had another friend be like "just use your big heat press".
I tried it, entirely too big for a project like this!
The EasyPress Mini is seriously the best choice for projects like hats, shoes and little duffle bags!
Custom Duffel Bags With The Cricut EasyPress Mini

It's little-bitty size is just one of the reasons it's awesome. I mean, it can fit in there, between the sections of fabric. Not issues dodging the plastic zippers, so you can keep from messing those up.
But then, also, the EasyPress Mini gets that super-hot. Up to 400 degrees hot. The evenly heated surface makes the HTV almost immediately bond with the surface of your base material.
Projects including baby shoes, hats, stuffed animals and so much more.
The Cricut EasyPress Mini is really easy to store because of its small size.
Plus, in addition to 3 heat settings that lets you do a lot of varying materials, it's also got this auto-shutoff feature that keeps you from leaving it on all the time...kind of a thing.
It's probably my favorite tool I use in my crafting room, besides my Cricut, of course. LOL!
Seriously, if you're thinking of trying to customize unusual, small, or unique heat transfer projects, then you're really going to love how easy it is to use the Cricut Easy Press Mini to get these shapely objects personalized.

What do I need to Use The Cricut EasyPress Mini To Customize A Duffel Bag?
For this project here is what you need:
- Duffle Bag
- Iron-on Vinyl
- Cricut EasyPress 2 Heat Press
- Cricut Explore 2 or other Cricut Machine
If you are looking for a great way to show your little guests at a sleepover just how welcome they are. These customized overnight bags are an awesome way to do just that.
And while you are in Design Space, click on images and search for amazingly cute images there you can add to your duffle bag for more fun. I didn't bother with more because I was doing 6 of these. But if you're doing just one, adding a bit more fun is never a bad idea. Seriously, you will not be sorry!
If you are looking for more projects to try with your Cricut EasyPress Mini then you will love this Personalized Stuffed Animal Tutorial. And if you are new to the Cricut, Must Have Cricut Accessories is a great place to start!
GRAB THE CRICUT EASYPRESS MINI TUTORIAL

How To Use The Cricut EasyPress Mini To Customize A Duffel Bag
Learn how to use your Cricut EasyPress Mini to use the Cricut EasyPress Mini to Customize a Duffle Bag, AKA turn these adorable overnight bags into personalized treasures little girls will LOVE for-ever. The EasyPress makes creating projects like this a breeze!
Materials
Tools
Instructions
- Create your design in Design Space. I was doing A LOT of these, so I just went with first names, but if you're only doing one, go to town with flourishes and fun things!
- Preheat the Cricut Easypress Mini to the second setting on the press.
- Cut All Items - Don't forget to mirror your image, since we're using heat press vinyl.
- Lay the bag as flat on a hard heatproof surface as you can, use your hand to feel if there is anything under, like seams and such you want it as flat as you can get it.
- Weed your design.
- Place the lettering where you want it on the duffle bag front.
- Using medium pressure and a circular motion press the vinyl onto the bag.
- Gently peel the backing off and discard.
Notes
Make this personalized overnight bag your own!
Recommended Products
This post and some photos may contain Amazon and other affiliate links, I will be compensated if you make a purchase after clicking on my links.


[…] Cricut EasyPress Mini: How To Customize A Duffel Bag [Video] […]