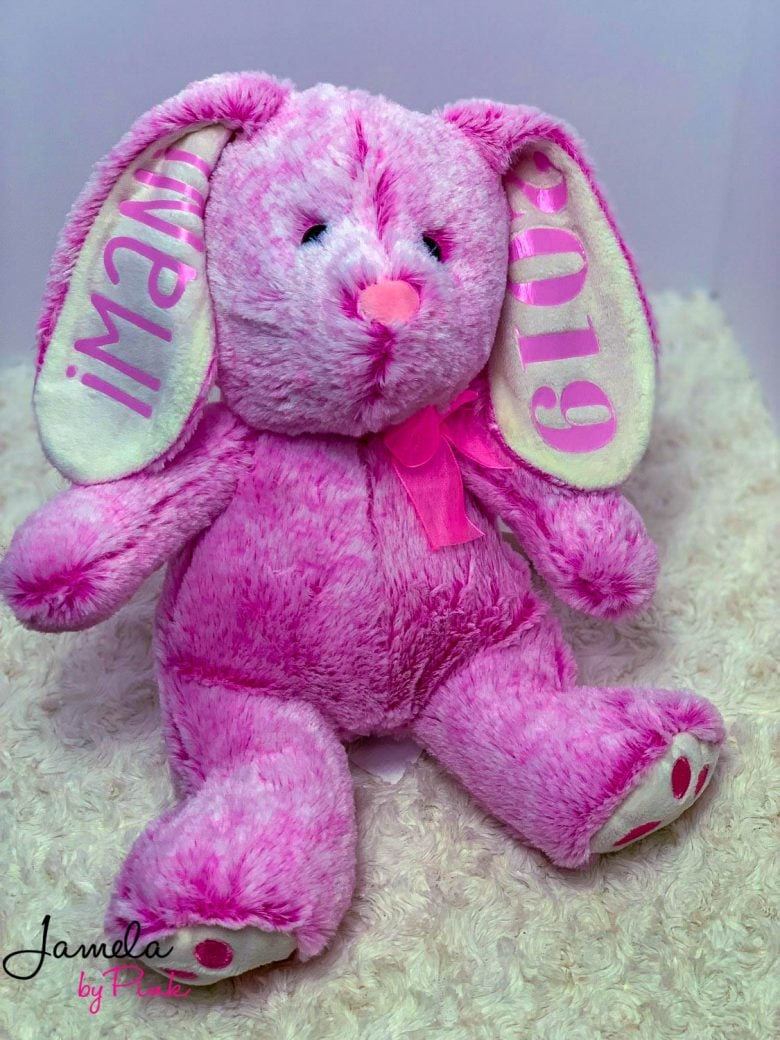
Are you looking for cute little things to add to the baby's Easter basket? This easter bunny is adorable, easy to make and wonderful keepsake.
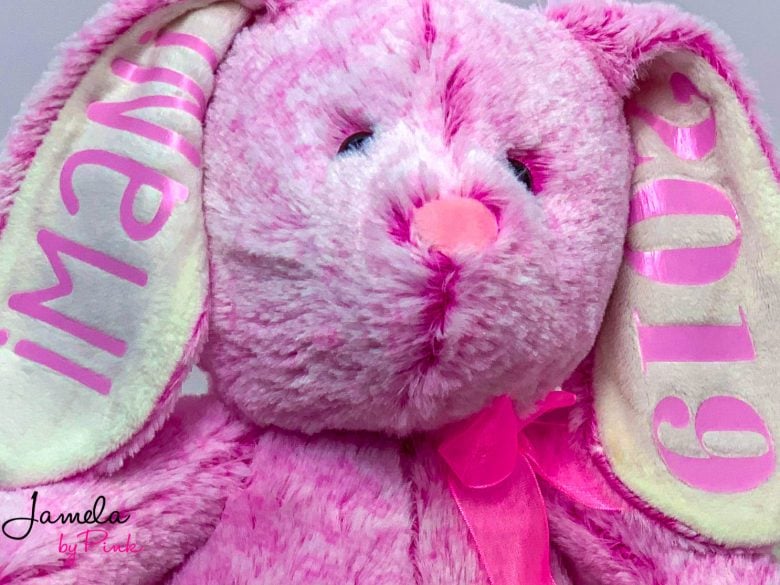
This was a super easy Cricut craft and it only took about 10 minutes to do. This stuffed Easter bunny has the child's name and the current year and both were totally fun to do using Cricut Design Space. and Cricut access fonts.

Whether you have a Cricut Maker or one of the older models this one is a great Cricut tutorial for beginners to learn about placing iron-on vinyl. The Cricut Machine makes these already adorable plush toys even cuter.
Easter Bunny Cricut Craft
Babies are too small to participate in Easter Egg hunts and to eat chocolate eggs on Easter Sunday, but we definitely can't leave the little ones out.
This is why I came up with this Easter Bunny Cricut Tutorial so they can have something too. Go get the Baby's First Easter Free SVG Cut File

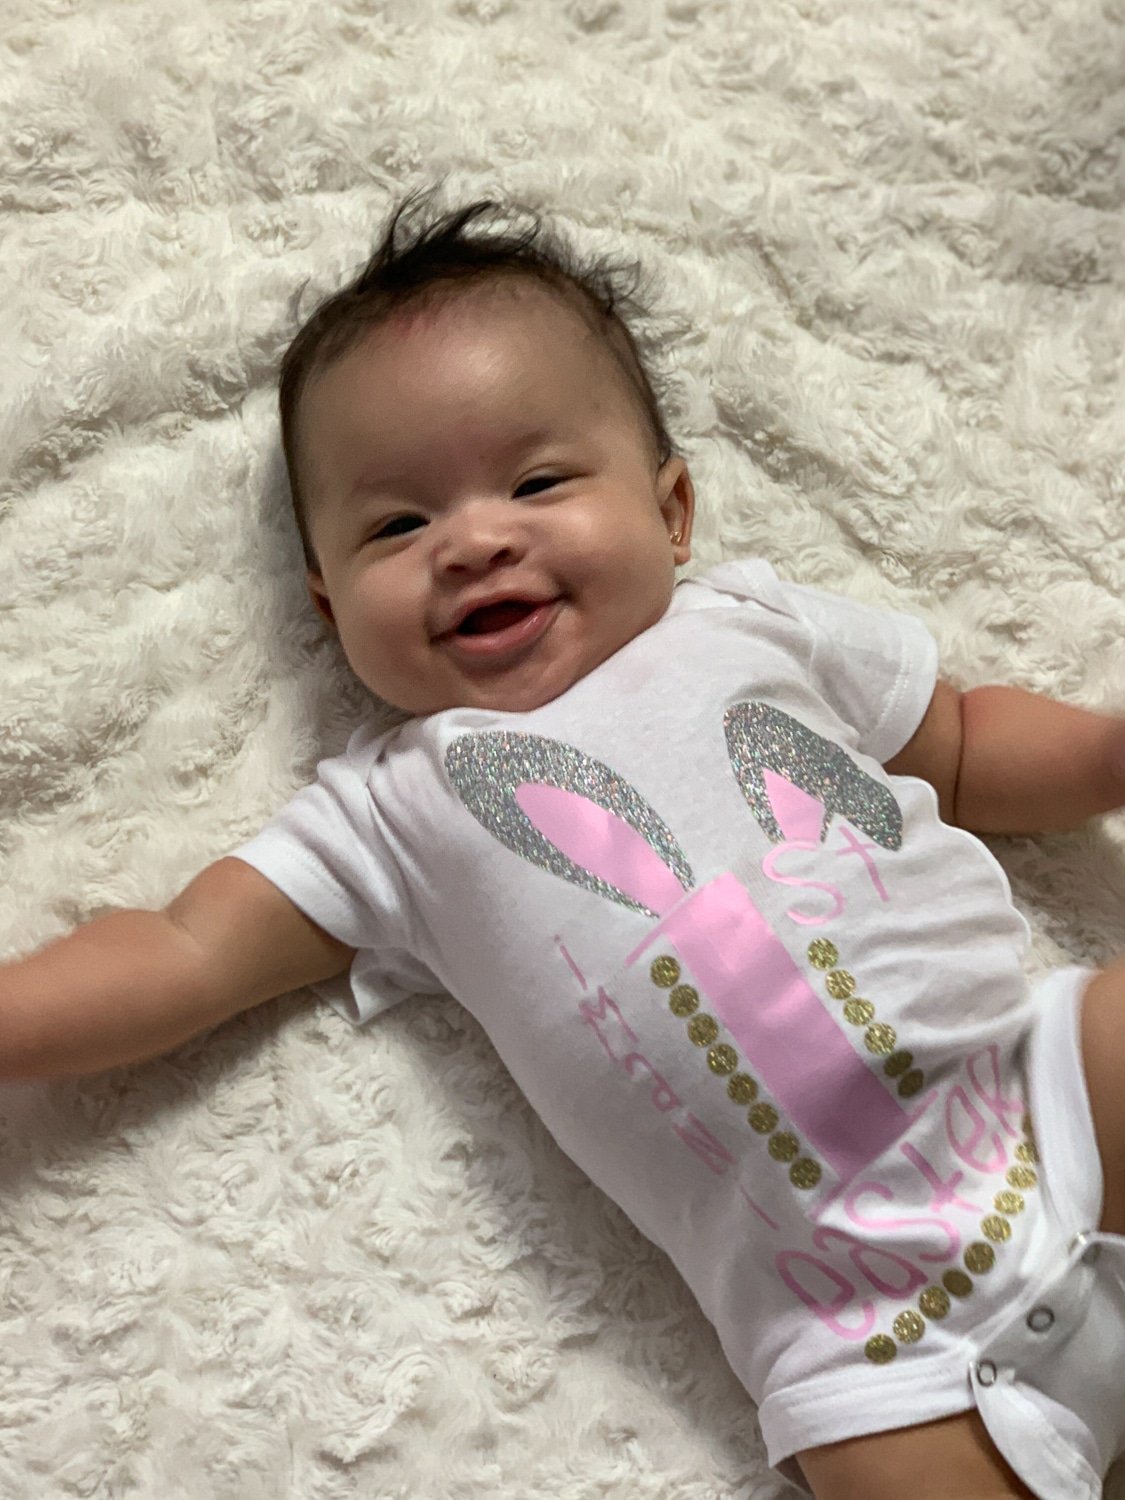
My cute little cousin was 5 months yesterday, and this will be her first Easter.
I wanted to make her some things that I could also share with you guys. I love working with the Cricut and am planning some cool sewing tutorials using my new Cricut maker soon.

For this Easter Bunny project, it only cost me about $7 to make. I used up some scrap vinyl and got this stuffed Easter bunny for $5.95, a steal for as cute as it is! These are perfect for all ages but will be extra special for the baby.

I would love to see what other things you are making with your Cricut for Easter. Make sure you join my group and share all your amazing Cricut Creations.
Check these out too!
Heat Transfer Vinyl: How To Remove HTV With Iron
Free Easter Printables Coloring Pages

Easter Bunny Cricut Tutorial: How To Apply Heat Transfer Vinyl
Learn to make a super cute Easter Bunny Keepsake with this easy Cricut Tutorial. This stuffed easter bunny is a great addition to any baby’s Easter basket.
Materials
Tools
- Cricut Machine
- Weeding Tool
- Standard grip mat
- EasyPress Mini
Instructions
- Measure out the ears of the bunny, you want to leave a little space on the edges on the edges of the ears and also where the ears fold in.
- Go to design space and type out your text.
- Choose a font that you like.
- Click make it.
- Make sure it looks the way you want it to on your mat.
- Don’t forget to mirror your image.
- Click continue.
- Place your iron on vinyl shiny side down on your mat and load into the machine.
- I choose the vinyl setting but this will depend on the newness of your blade.
- Press cut.
- Unload when done and remove from the mat.
- Cut off extra uncut vinyl and weed.
- Place the ear flat, and apply heat for a few seconds.
- Place your text on the ear and press.
- Peel off the plastic backing and repeat with the other ear.


[…] Personalized Easter Bunny […]