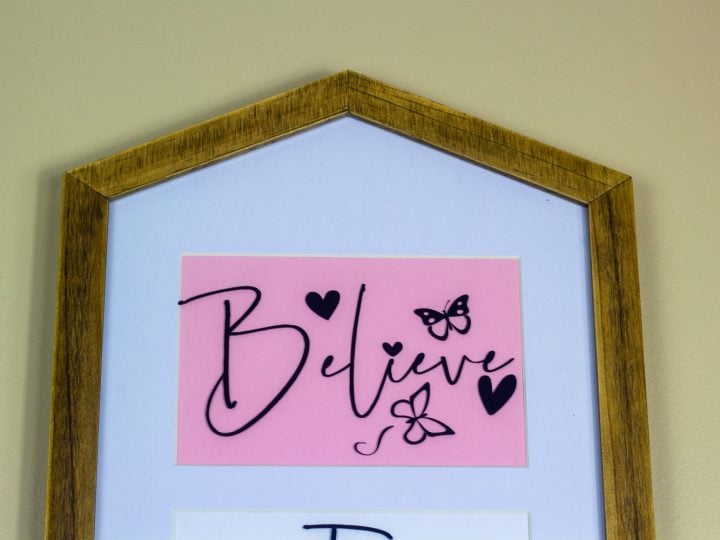
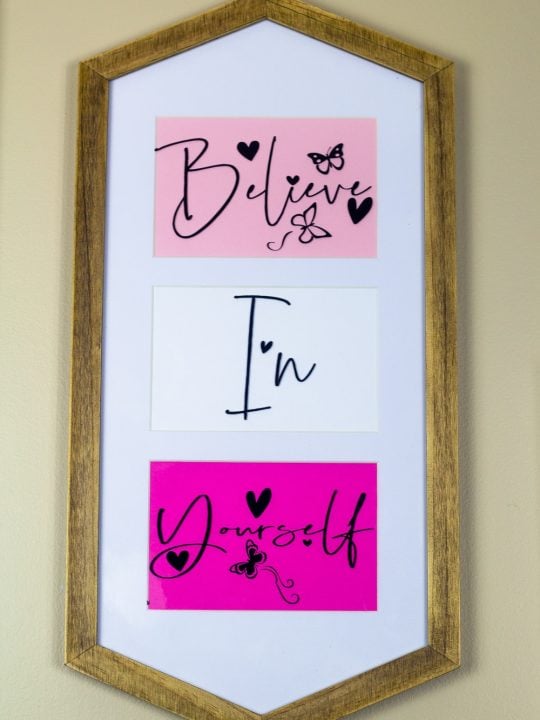
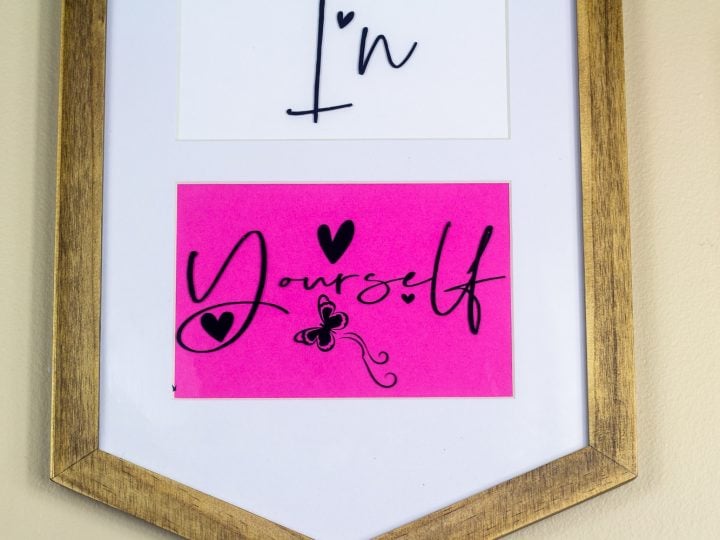
I love this beautiful and simple Cricut DIY wall art. It's elegant and graceful, while at the same time being whimsical and fun. Perfect for a little girl's room!
And, with all those little butterflies and a pretty frame I found, this really is perfect for someone who would love a little pick-me-up encouragement every day.

Cricut DIY Wall Decor with Free SVG
Look, I know that not everybody needs a little butterfly SVG in their life. But then there are people like little girls that hear all sorts of bad messages and could use a little pick me up. And it's not just little girls.
It's a tough world out there and, frankly, those kiddos, they all need to hear a little encouragement. So, I decided I needed to put that positive out in the world and make this pretty free SVG wall decor idea.
I'm thinking about making a whole gallery wall around this and my unicorn wall art. All I would need to do is put together a couple more creative DIY wall art ideas, maybe incorporate some washi tape and bam! My white walls will be transformed!
I'm feeling a little jazzed. Might have to tackle the living room with these imagined pieces of art--I can change my whole home decor style with easy DIY ideas.
Mind. Blown.

What You Need to Make This Cricut DIY Wall Decor
- Transfer Tape
- Squeegee/Scraper (you don't need these if using the printable version)
- Weeding Tool
- Permanent Adhesive Vinyl
- Vinyl Trash Bin (my fancy name for it)
How to Make This Cricut DIY Wall Decor
Make Your DIY Wall Decor with Your Cricut
If you want to make this DIY wall decor with your cutting machine, download your files and unzip them, then upload them to Cricut Design Space. Get your materials loaded and set your machine to do the cutting. Go get a coffee. Come back and fold or cut your colored cardstock and set aside.
Weed your design then cut a piece of transfer paper large enough to cover your design and lay it over your design. Push the air out from between the design and transfer paper with your scraper, then pull the paper backing off.
Place your design on the glass, secure and scrape the vinyl down. Repeat with each panel.
Make Your DIY Wall Decor with NO Cricut
Download and unzip your files, then print them on the colored paper. Fold the colored paper in half and place it in the frame.
And done!

What Can You Use this DIY Wall Art For?
I have a ton of ideas for using this DIY wall art, but I'll be honest, there are probably a lot more ideas out there than I can come up with! To get your brainstorming started, I'll go ahead and share what I've come up with--you tell me what else you can come up within the comments. Here are mine:
- Baby shower gift
- Mother's day gift
- First birthday gift
- Teacher gift
- *see a trend here?!*
Yeah, I am coming up with lots of ideas for gifts with this beautiful DIY Wall Art. Go figure.
If you love this cute DIY Wall Art idea, be sure to pin it to your favorite Cricut crafts board on Pinterest, so you can find it again really fast when you need another gift.
More Fun Cricut Wall Art You'll Love
Grab The FREE SVG Download
Grab the FREE PDF Download

Cricut DIY Wall Decor
I love this beautiful and simple Cricut DIY wall art. It's elegant and graceful, while at the same time being whimsical and fun. Perfect for a little girl's room!
Materials
For Either
For Cricut
- Transfer Tape
- Vinyl Squeegee/Scraper
- (you don't need these if using the printable version)
- Weeding Tool
- Permanente Adhesive Vinyl
Tools
Instructions
For Cutting Machines
- Unzip and download the appropriate files.
- Load the file into Cricut Design Space.
- Set the materials and cut.
- Fold or cut the colored cardstock and set aside.
- In your cutting program resize the images to fit your frame and cut.
- Remove from the mat and weed out the voided areas.
- Cut a piece of transfer paper just large enough to cover your design.
- Place it over your design.
- Use your scraper to remove the air between the design and the transfer paper.
- Remove the paper backing by gently peeling it away.
- Place the design onto the glass on the frame, secure the middle then 1 side at a time.
- Again use the scraper to transfer the vinyl from the transfer sheet onto the glass.
- Repeat with the other panels.
For Printable
- Download and unzip the files.
- Print on colored paper.
- Fold the colored paper in half and place into the frame.
Recommended Products
This post and some photos may contain Amazon and other affiliate links, I will be compensated if you make a purchase after clicking on my links.


Jackie
Hi Jamela, I have reloaded this page several times but the link to download doesn’t show up. Thanks!
Jamela Porter
It was messed up, I have it fixed. Check now.